How to Install Roof Shingles (Patch, Repair, & Replace)
Posted 10.08.25 | 8 Minute Read
When your roof starts showing signs of wear, missing shingles, or leaks after a heavy storm, it’s natural to wonder what you can do about it. Knowing how to install roof shingles isn’t just a handy homeowner skill—it’s essential to maintaining your home’s protection, value, and curb appeal. If your roof in Fort Mill, SC and surrounding areas is looking worse for wear, learning the basics of the process helps you make better decisions when hiring professionals or tackling small repairs. You can also explore our Charlotte roofing services to ensure every layer of your roof system is installed with precision and care.
If your roof in Fort Mill and surrounding areas is looking worse for wear, learning the basics of the process helps you make better decisions when hiring professionals or tackling small repairs. You can also explore professional roofing services to ensure every layer of your roof system is installed with precision and care.
Here’s what you’ll learn in this guide:
- Why roof shingle installation matters for home protection and efficiency
- A step-by-step breakdown of the installation process
- Tips for spotting roof problems early and knowing when to call for help
- Practical insights on materials, tools, and safety practices
Why Proper Roof Shingle Installation Matters
Your roof is your home’s first defense against weather, moisture, and temperature extremes. Proper installation is what separates a roof that lasts 25 years from one that needs repairs every few seasons. When shingles are installed correctly, they form a durable, watertight seal that keeps your home dry and comfortable year-round. If you’ve noticed leaks or loose shingles after bad weather, our guide on roof leak repair explains how to handle small issues before they become costly replacements.
Here’s why it matters:
- Weather Protection: Quality installation prevents leaks, mold, and interior damage from rain and snow.
- Energy Efficiency: A well-sealed roof improves attic ventilation and helps regulate indoor temperatures, lowering energy costs.
- Longevity: Correct nailing, underlayment, and alignment can extend a roof’s lifespan by years.
- Curb Appeal: New shingles instantly boost your home’s appearance, which is especially valuable if you plan to sell.
- Peace of Mind: Professional installation ensures warranties remain valid and that your roof is built to last.
Even in mild climates like Fort Mill and surrounding areas, roofs take a beating from seasonal humidity and summer storms. Ensuring your shingles are properly installed now means fewer headaches and expenses later.
7 Steps to Install Roof Shingles Like a Pro
Replacing or repairing shingles might sound daunting, but when you break it into clear steps, the process becomes much more manageable. Below are the key stages a professional roofing team follows when installing or replacing shingles.
1. Prepare the Work Area
Before any roofing begins, preparation is critical. Professionals start by assessing the structure and clearing the area around your home to ensure safety.
- Remove outdoor furniture, plants, and vehicles near the house.
- Set up safety gear: harnesses, ladders, and roof brackets.
- Inspect the roof deck for signs of rot or soft spots before installing anything new.
Preparation creates a safer work environment and prevents hidden problems from compromising the finished roof.
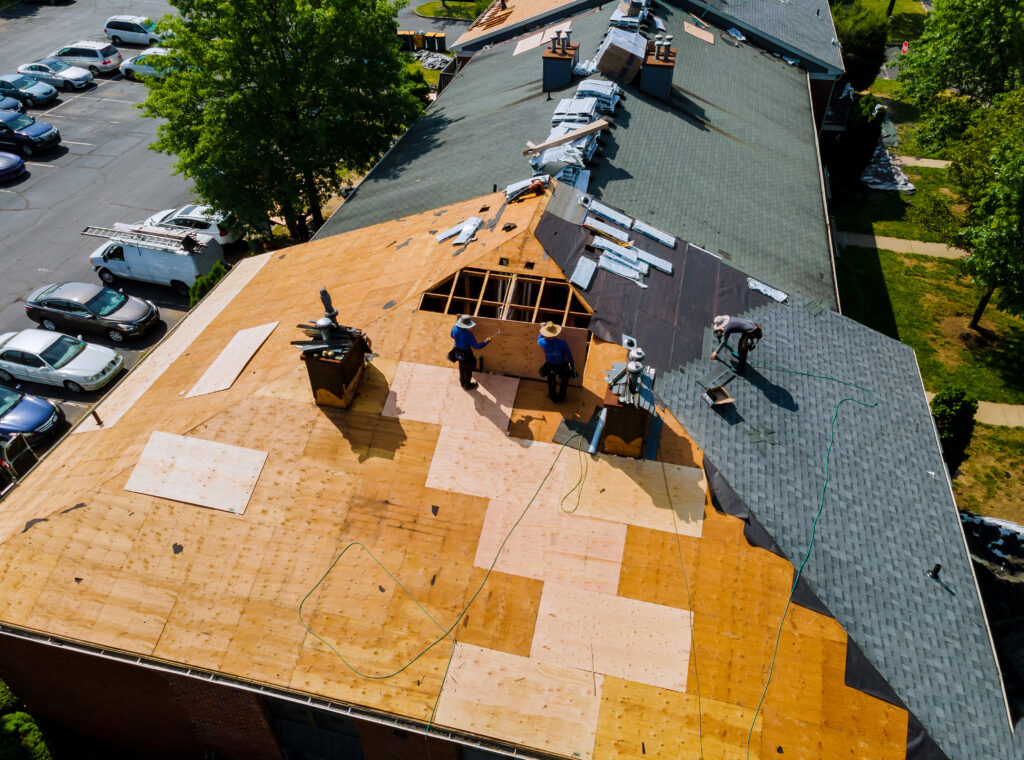
2. Tear Off Old Shingles and Inspect the Deck
While some homeowners consider layering new shingles over old ones, experts recommend a full tear-off for long-term results.
- Removing old shingles ensures a clean, even surface.
- It allows for inspection of the sheathing for damage or mold.
- A new underlayment adheres better to a clean surface.
Once old materials are cleared, roofers inspect for water damage, loose boards, or signs of pests before repairs are made.
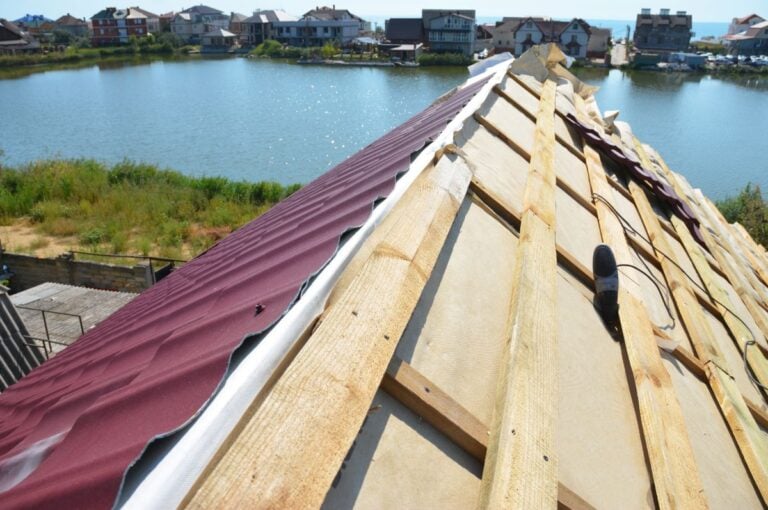
3. Install Drip Edge and Underlayment
The drip edge and underlayment form the foundation of your roofing system.
- Drip Edge: A metal flashing that directs water away from fascia boards.
- Underlayment: A protective barrier (usually synthetic felt) that prevents leaks under shingles.
These layers are installed starting from the bottom edge of the roof, overlapping each course upward to ensure water always flows outward and downward—never toward the wood.
4. Lay Out and Nail the Starter Shingles
Starter shingles are critical to preventing water infiltration at the roof’s edge.
- They’re installed along the eaves first, with a slight overhang to guide runoff into gutters.
- Nails should be placed precisely at manufacturer-recommended intervals.
- A chalk line ensures straight, professional alignment for each row that follows.
Proper alignment here determines the overall look and performance of the finished roof.
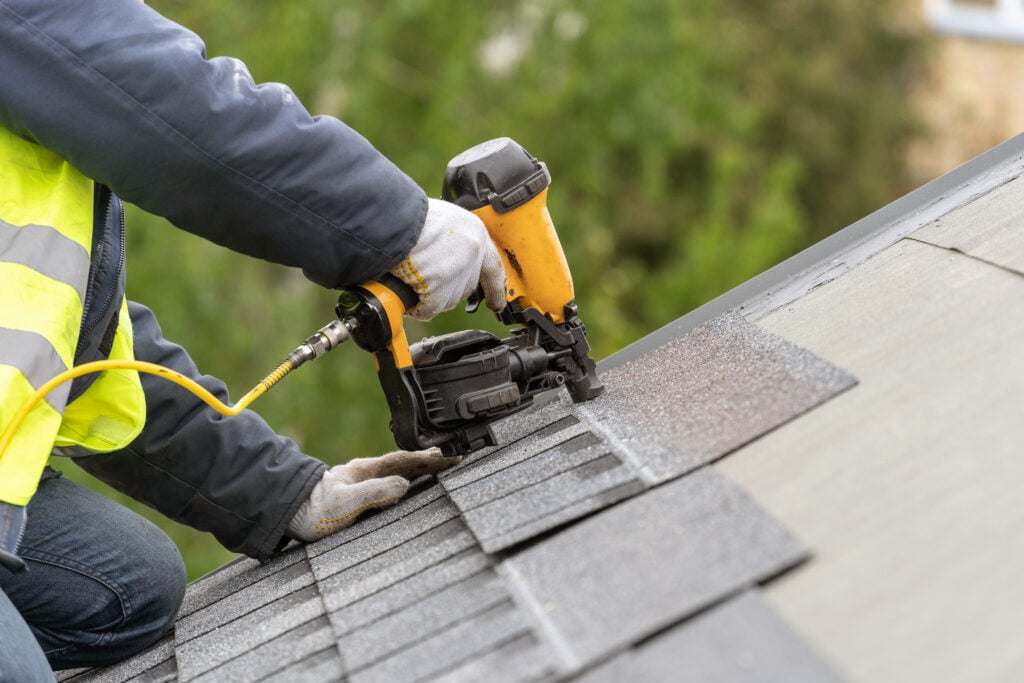
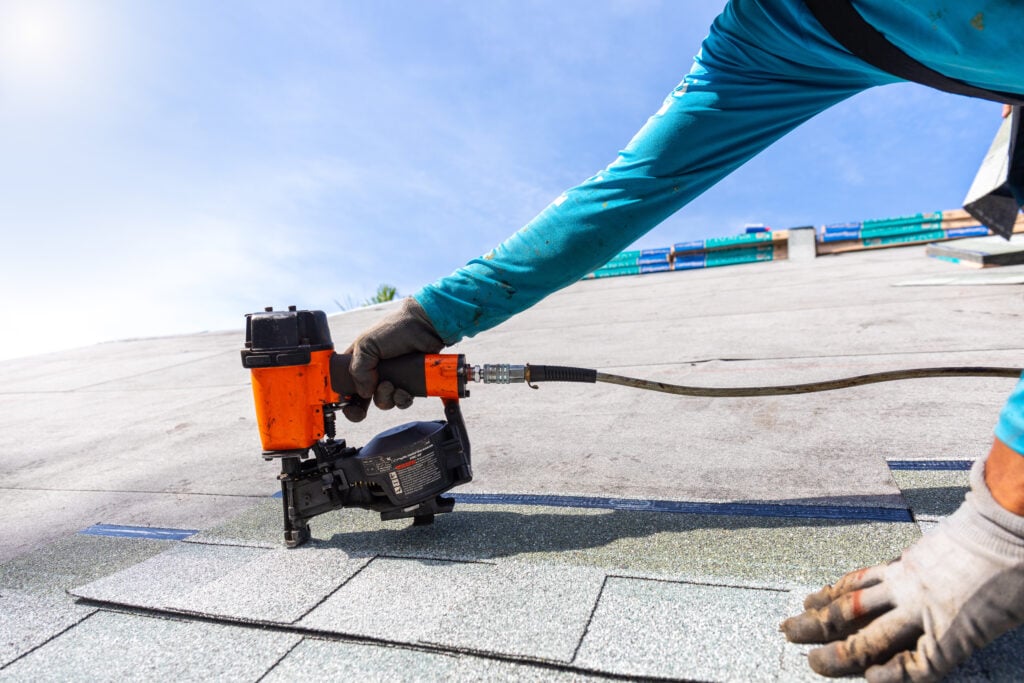
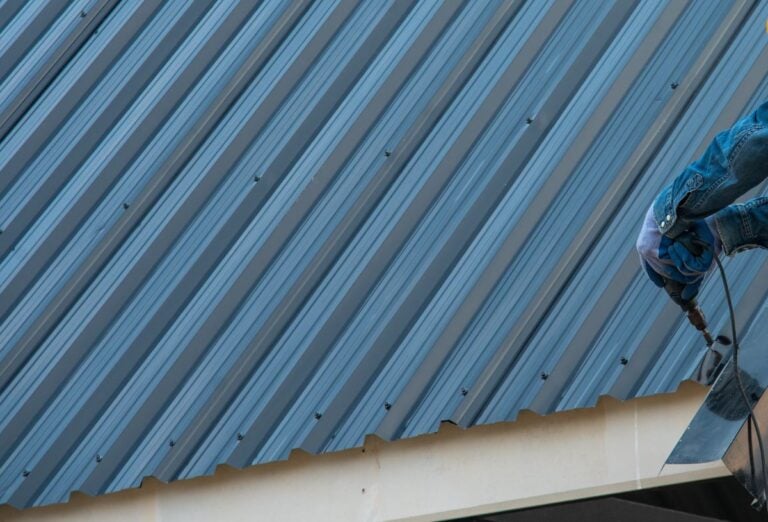
5. Install the Main Shingles
Once the starter course is in place, the main shingles go on. If you’re comparing options for your next project, check our expert guide on the best roof shingles to see which material performs best in your climate.
- Each shingle overlaps the one below, creating a tight seal.
- Stagger seams between rows for maximum durability.
- Nail only where the shingle is reinforced, typically just above the cutouts.
Professionals use roofing nailers with depth control to avoid overdriving nails, which can puncture or loosen shingles.
6. Add Flashing and Ridge Caps
Flashing is installed around chimneys, vents, and valleys—anywhere water might sneak in. This step ensures watertight protection in vulnerable areas.
- Use step flashing for walls and chimneys.
- Seal with high-quality roofing cement where needed.
- Install ridge cap shingles last, overlapping along the peak for a clean, finished look.
7. Clean Up and Final Inspection
Once installation is complete, cleanup is just as important as the build itself.
- Remove debris, nails, and leftover materials from the property.
- Inspect all flashing, valleys, and seams for gaps or misaligned shingles.
- Check gutters to ensure they’re clear and functional.
A professional crew will also perform a final safety and quality check to confirm the installation meets local codes and warranty requirements.
Roof Shingle Repair vs. Replacement: How to Know the Difference
Even a single damaged shingle can compromise your roof’s protection. Understanding when to repair versus when to replace can save you time and money. For property owners nearby, our Rock Hill roofing team offers expert inspections and cost-effective solutions designed for local weather conditions.
When to Repair
- Localized Damage: Only a few shingles are missing or cracked.
- Storm-Related Issues: Wind or hail damage limited to one area.
- Minor Leaks: A small leak that hasn’t spread beyond one section of the roof.
Repairing is ideal if the rest of the roof is in good condition and under 10 years old.
When to Replace
- Widespread Curling or Cracking: Indicates aging shingles losing their seal.
- Granule Loss: Bare patches on shingles expose the asphalt underneath.
- Frequent Leaks: Multiple repairs over time often cost more than a new installation.
- Age: Most asphalt shingle roofs last 20–25 years; older roofs are better off replaced.
A roofing professional can help you weigh the cost-benefit of both options. In areas like Fort Mill and surrounding communities, roofs tend to age faster due to heat and humidity, so timely replacement ensures lasting protection.
Tips to Make Roof Shingle Installation Last Longer
Proper installation is just one piece of the puzzle—ongoing maintenance ensures your investment lasts as long as possible.
Regular Inspections
Schedule a professional inspection once a year and after major storms. Spotting issues early can prevent costly water damage.
Keep Gutters Clean
Clogged gutters cause water to back up under shingles, leading to rot and leaks. Make gutter cleaning part of your regular home maintenance routine.
Trim Overhanging Branches
Branches rubbing against shingles can cause granule loss and damage over time. Trimming trees near your home protects both your roof and gutters.
Ensure Proper Attic Ventilation
Poor ventilation can trap heat and moisture, shortening your roof’s lifespan. Make sure your attic has a balance of intake and exhaust vents.
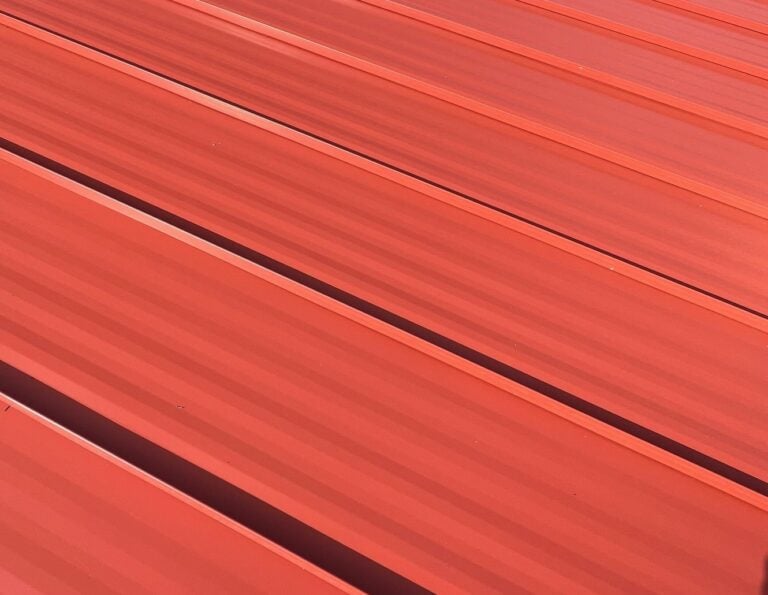
Choose Quality Materials
Higher-quality shingles resist fading, cracking, and algae growth. Investing in durable materials pays off in fewer repairs and longer protection.
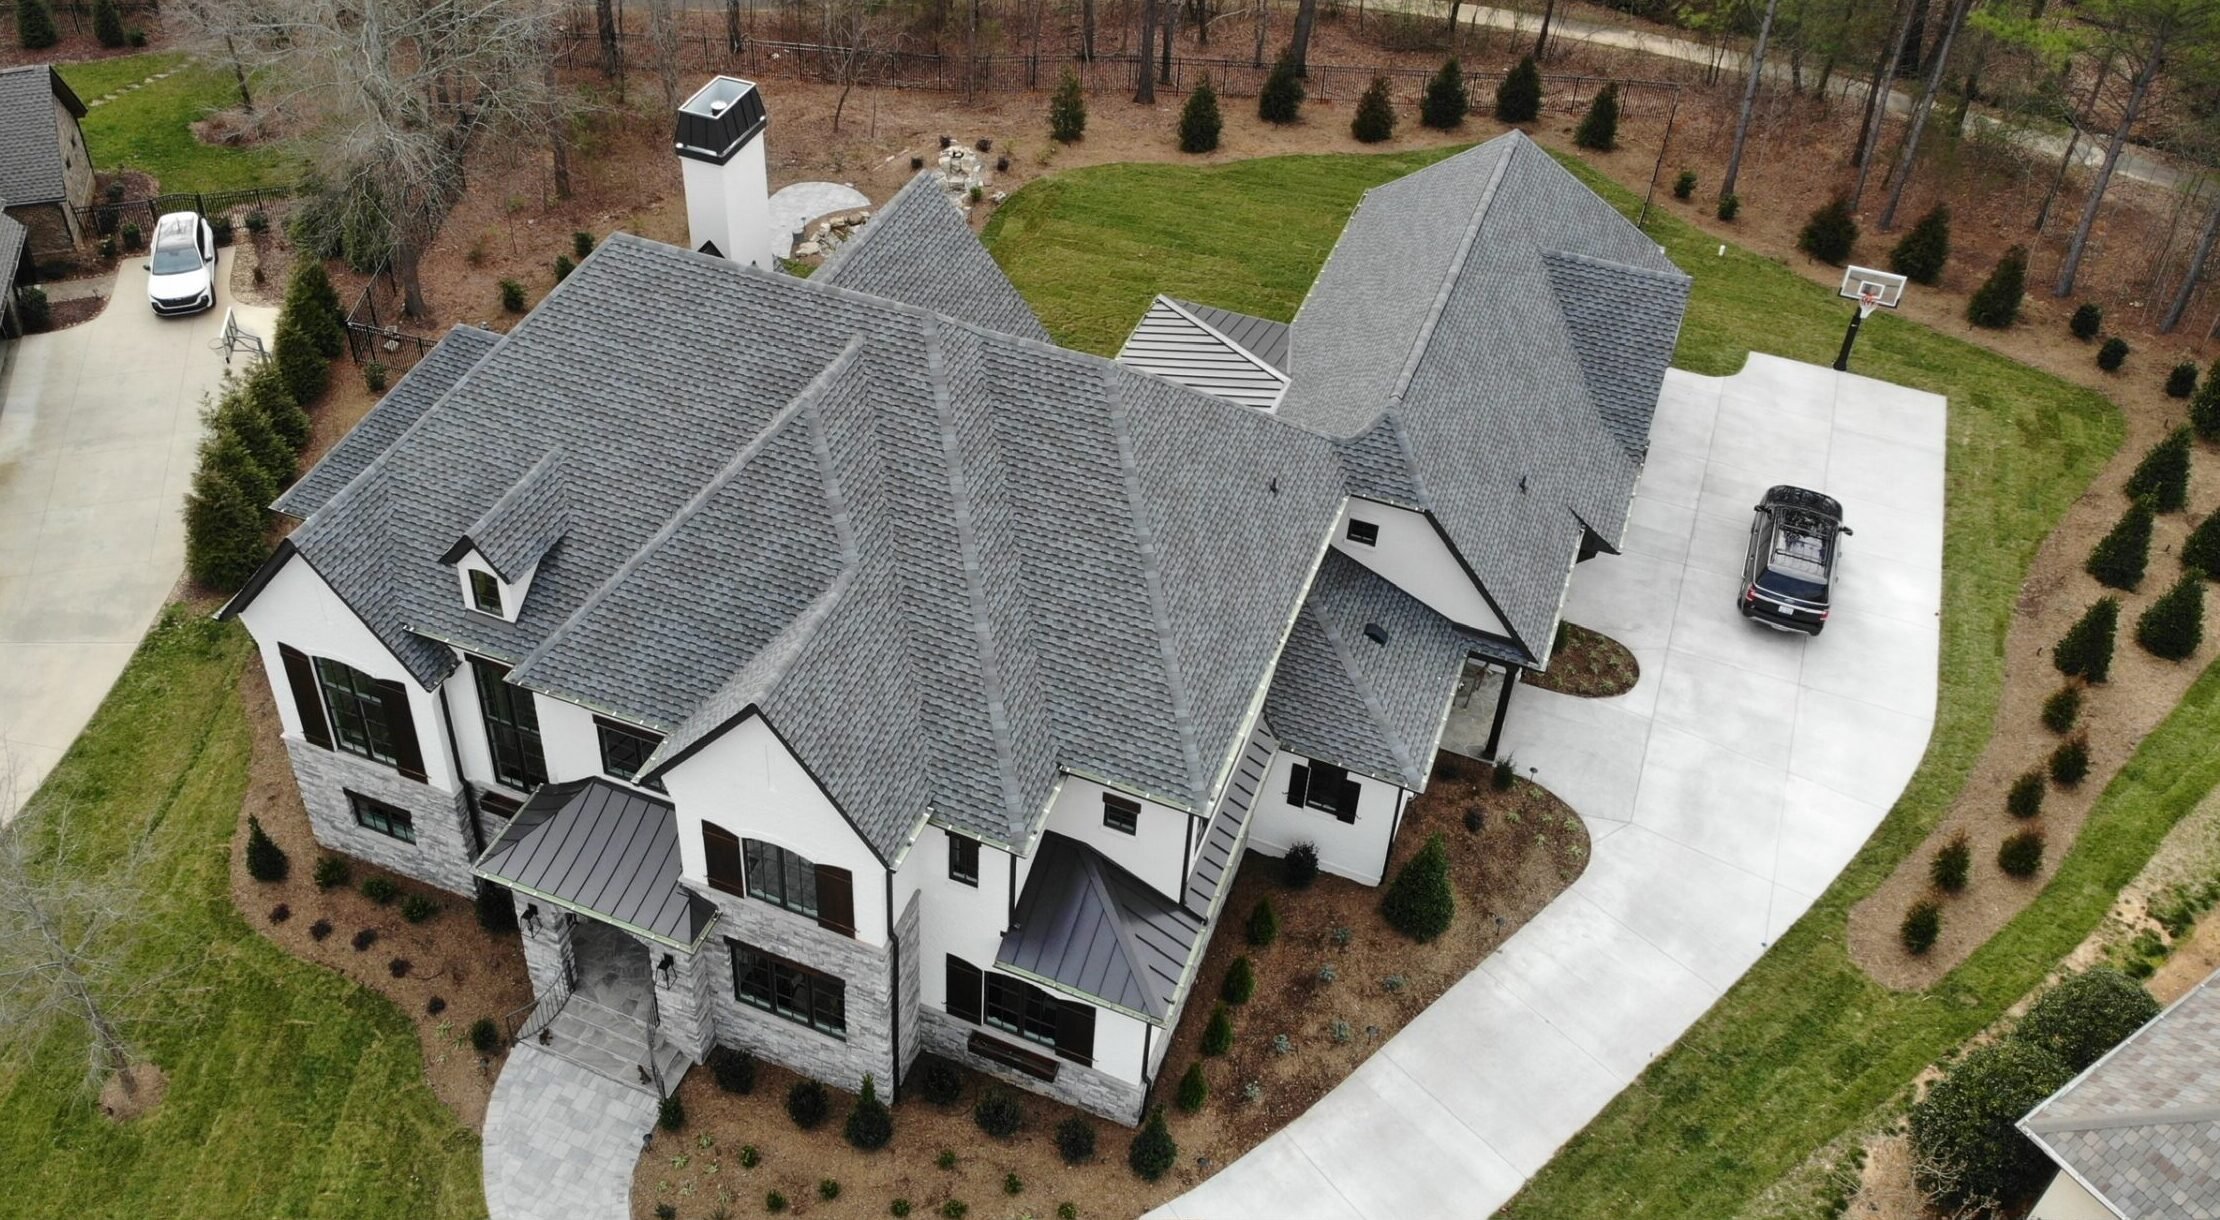
Comparing Shingle Types for Your Roof
Choosing the right type of shingle depends on your budget, climate, and aesthetic preferences. Below is a quick comparison of common options.
| Shingle Type | Average Lifespan | Key Benefits | Best For |
| Asphalt (3-tab) | 15–20 years | Affordable, easy to install | Budget-conscious homeowners |
| Architectural | 25–30 years | Thicker, more durable, enhanced appearance | Homes needing style + performance |
| Designer/Luxury | 30–50 years | Premium look, superior durability | High-end homes or heavy weather zones |
| Metal Shingles | 40–70 years | Energy-efficient, fire-resistant | Hot climates or eco-conscious homeowners |
For homes in Fort Mill and surrounding areas, architectural shingles are a popular choice, offering both value and long-term protection in a climate that experiences high humidity and summer storms.
Protecting Your Home Starts at the Top
Knowing how to properly install, repair, or replace shingles gives you insight into one of your home’s most important systems. Even if you don’t plan to climb up on the roof yourself, understanding each step helps you recognize quality workmanship and avoid costly mistakes.
Whether your project involves a small patch or a full roof replacement, expert installation ensures your home stays protected for decades. If you’re noticing leaks, curling shingles, or just want to explore durable new materials, don’t wait until small problems become major expenses—contact us today to schedule a professional roof inspection and get personalized recommendations for your home.
In Fort Mill and surrounding areas, a strong, well-installed roof isn’t just about curb appeal—it’s about safety, efficiency, and peace of mind for years to come.
Very professional. Quality work. I would highly recommend for any roofing needs.