How to Measure a Roof for Metal Roofing (7 Easy Steps)
Posted 4.28.26 | 12 Minute Read
Getting an accurate measurement before ordering metal roofing materials is one of the most important things you can do to protect your budget and avoid costly delays. Order too little and you are waiting on a second shipment with the project stalled. Order too much and you are absorbing waste that adds up fast with premium materials. Understanding how to measure a roof for metal roofing is not just a contractor skill. It is something every informed property owner should understand before sitting down with a bid or exploring the systems that go into a well-built metal roof.
Here is what you will learn in this guide:
- Why accurate roof measurement matters more for metal than for other roofing materials
- The seven steps to measuring your roof correctly before a metal roofing project
- What tools you need to get reliable numbers from the ground or from the roof itself
- How roof pitch affects your total material calculation and why it cannot be ignored
- Common measurement mistakes that lead to material shortfalls or overspending
- When to rely on a professional measurement versus handling it yourself
Why Accurate Measurement Matters More for Metal Roofing
Metal roofing is a precision product. Unlike asphalt shingles, which are ordered in bundles and carry a modest per-unit cost that makes a small overorder relatively painless, metal roofing panels are fabricated to specific lengths, ordered in exact quantities, and priced at a level where waste has real financial consequences. A measurement error of even a few percent on a large roof can translate into hundreds or thousands of dollars in unnecessary material cost or project delays.
For homeowners in the Cornelius and surrounding areas planning a metal roofing project, accurate upfront measurement also enables more meaningful contractor comparisons. When you understand the square footage of your own roof, you can evaluate bids with confidence rather than simply trusting that everyone is pricing the same scope of work.
Here is why getting the numbers right from the start protects your project:
- Accurate material ordering: Metal panels are often custom-cut to length at the factory or job site. Ordering based on incorrect measurements means panels that do not fit, requiring reorders that delay the project and may not match the original batch if lead times extend.
- Better budget control: Knowing your actual square footage before requesting quotes prevents the unpleasant surprise of estimates based on rough approximations that shift significantly once the contractor gets on the roof.
- Waste factor planning: Even with accurate measurements, metal roofing projects require a waste factor for cuts, overlaps, and trim. Understanding the base number lets you apply that factor correctly rather than stacking it on top of an already inflated estimate.
- Contractor accountability: A homeowner who arrives at a contractor conversation with their own measurements is in a much stronger position to ask questions and verify that bid quantities are reasonable.
- Insurance and permitting support: Many permit applications and insurance assessments require square footage documentation. Having this number calculated accurately before the project begins streamlines both processes.
7 Easy Steps to Measure a Roof for Metal Roofing
Measuring a roof accurately requires a systematic approach that accounts for every plane, every pitch transition, and every feature that affects the total surface area. Work through these steps in order and you will have the numbers you need to move forward with confidence.
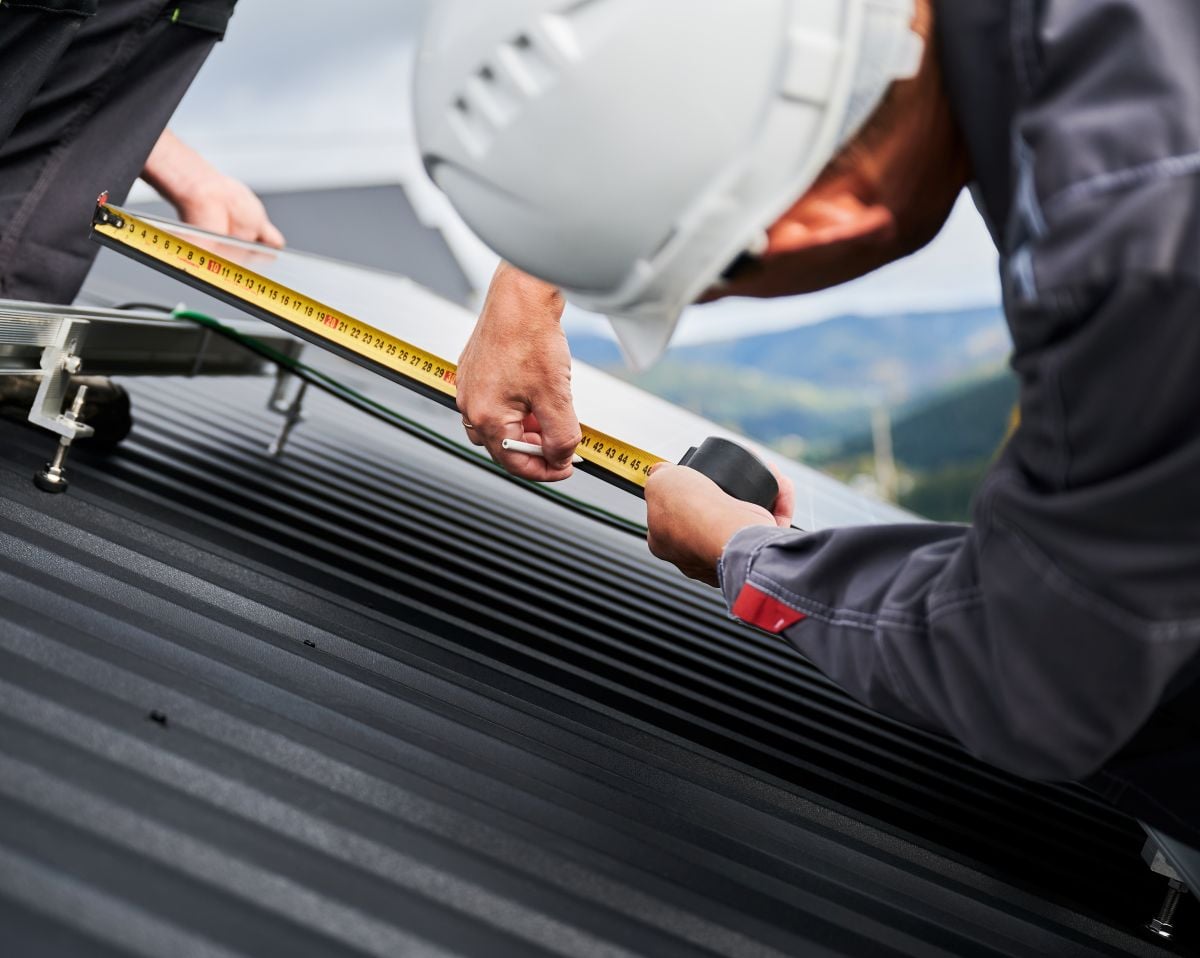
Step 1: Gather Your Tools Before You Start
Before climbing onto the roof or starting any ground-level measurements, pull together everything you will need. Working with incomplete tools leads to multiple trips and increases the chance of errors.
What you will need:
- A 100-foot tape measure for longer runs
- A 25-foot tape measure for shorter sections and detail measurements
- A notepad and pencil or a roofing measurement app on your phone
- A calculator or smartphone for pitch factor calculations
- A level and a 12-inch ruler or speed square for measuring pitch from inside the attic or at the roof edge
- A helper if you plan to measure on the roof itself
If you are measuring from the ground using the footprint method described in Step 3, you will not need to access the roof at all. If you plan to walk the roof, wear rubber-soled shoes and never work alone.
Step 2: Sketch Your Roof Before Taking Any Numbers
A measurement without context is easy to misapply. Before recording a single number, draw a simple overhead sketch of your roof as it would look from directly above. This does not need to be precise or to scale. Its purpose is to give you a reference map where you can label each roof plane, note its approximate shape, and track which measurements correspond to which sections.
Label each plane with a letter or number: Plane A, Plane B, and so on. Note where ridges, hips, valleys, and dormers are located. Most roofs have between two and six distinct planes. Complex roofs with multiple dormers, turrets, or intersecting hip sections may have considerably more, and having a sketch prevents confusion when you are recording measurements for each one individually.
For homeowners in the Cornelius and surrounding areas working on homes with more complex rooflines, this sketching step often saves significant time because it reveals which planes share dimensions and which require independent measurement.
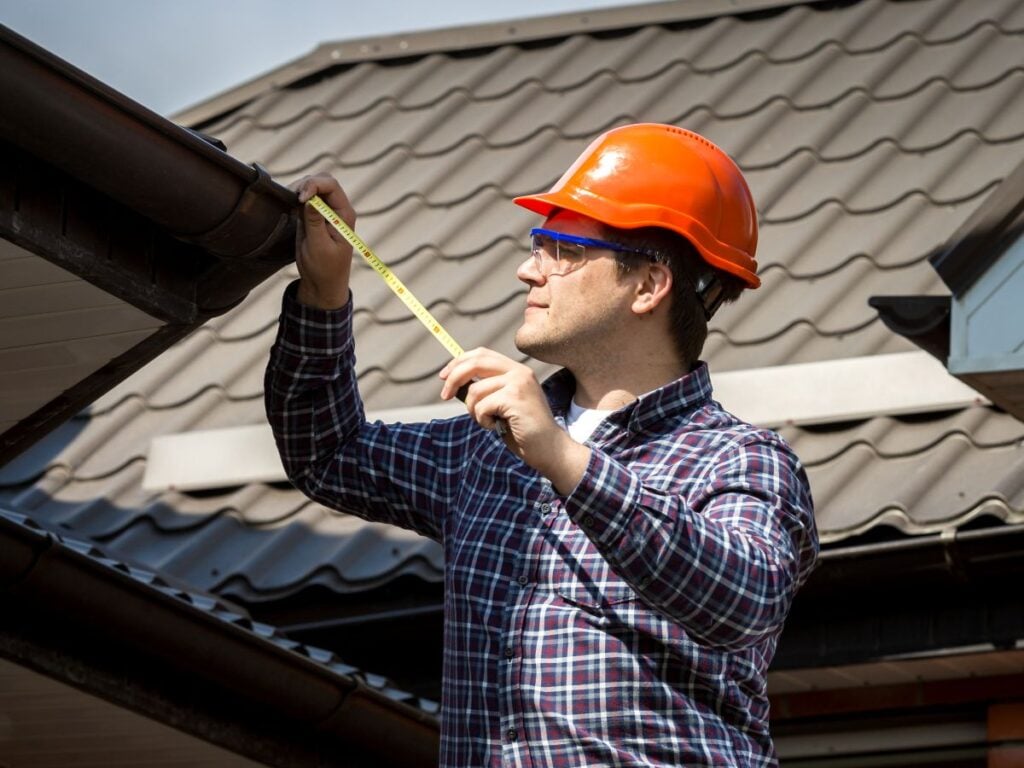
Step 3: Measure the Footprint from the Ground
The most accessible starting point for most homeowners is measuring the building’s footprint from the ground rather than walking the roof itself. The footprint method measures the horizontal projection of the roof, which you then adjust for pitch in a later step to get the actual sloped surface area.
To measure the footprint:
- Walk the perimeter of your home and measure each exterior wall from corner to corner
- Record the length and width of each section of the house separately if the floorplan is not a simple rectangle
- Include any attached structures like garages, covered porches, or additions that share the roof
- For overhangs, add the overhang depth to each side of the corresponding wall measurement (typically 12 to 24 inches per side on most residential construction)
Once you have your perimeter measurements, calculate the rectangular area of each section by multiplying length by width. If your home has an L-shape or T-shape footprint, break it into rectangles, calculate each one separately, and add them together.
Step 4: Measure the Roof Pitch
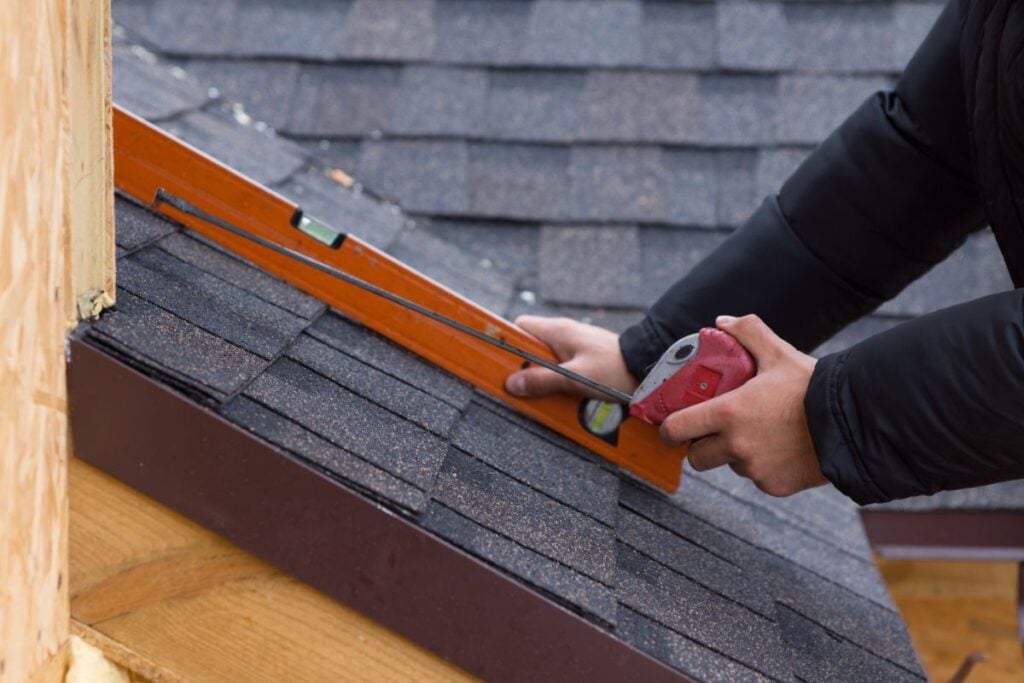
Pitch is the ratio of how much a roof rises vertically for every 12 inches it travels horizontally. A 4:12 pitch rises 4 inches for every 12 inches of horizontal run. Pitch matters for roof measurement because a steeper roof has more actual surface area per unit of horizontal footprint than a flatter one.
You can measure pitch in several ways:
- From inside the attic: Hold a level horizontally against a rafter, measure 12 inches along the level from the rafter, then measure straight up from that point to the rafter above. That vertical measurement is your rise.
- From the roof edge: Place a level on the roof surface with one end touching the surface and the other end raised. Measure 12 inches along the level from the surface contact point, then measure down to the surface. That vertical distance is your rise.
- From the ground: Count the number of courses visible on a gable end and estimate based on known shingle or panel dimensions, though this method is less precise.
Common residential pitches range from 3:12 to 12:12, with 4:12 to 6:12 being the most typical range in the Cornelius and surrounding areas market.
Step 5: Apply the Pitch Multiplier to Your Footprint Area
Once you have your footprint area and your pitch measurement, you need to convert the horizontal footprint into actual sloped surface area using a pitch multiplier. This is the step most homeowners skip, and skipping it leads to significant underestimates on steeper roofs.
Here are the standard pitch multipliers for the most common residential pitches:
- 2:12 pitch = multiply by 1.02
- 3:12 pitch = multiply by 1.03
- 4:12 pitch = multiply by 1.05
- 5:12 pitch = multiply by 1.08
- 6:12 pitch = multiply by 1.12
- 7:12 pitch = multiply by 1.16
- 8:12 pitch = multiply by 1.20
- 9:12 pitch = multiply by 1.25
- 10:12 pitch = multiply by 1.30
- 12:12 pitch = multiply by 1.41
As an example: a home with a footprint area of 2,000 square feet and a 6:12 pitch would have an actual roof surface area of approximately 2,240 square feet (2,000 multiplied by 1.12).
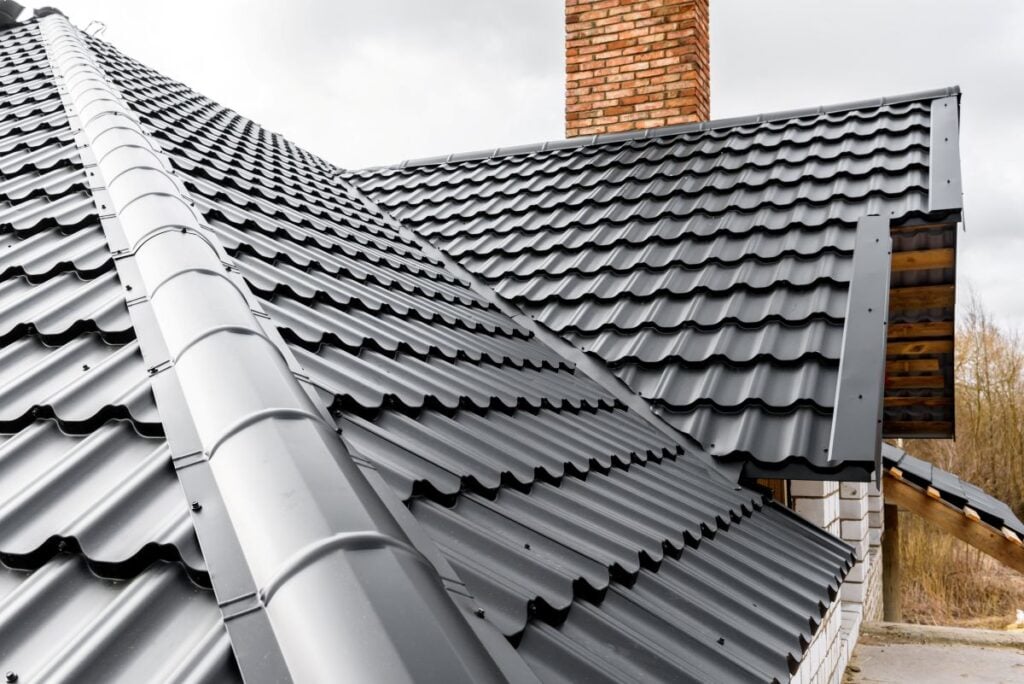
Step 6: Account for Roof Features and Complex Areas
A basic rectangle calculation gets you close, but most roofs have features that require additional measurement and attention. Missing these adds up quickly in a metal roofing project where panel layouts need to account for every plane independently.
Features that require separate measurement or special consideration:
- Dormers: Each dormer adds roof surface on its front face and may create valley intersections on its sides. Measure the dormer’s width and pitch separately and add its area to your total.
- Skylights and chimneys: These do not add to measurable area but affect panel layout and require flashing that should be factored into your material list separately.
- Hip returns and valley intersections: These areas require diagonal cuts that generate waste. Note their locations on your sketch so your contractor or material supplier can factor appropriate waste allowances.
- Varying pitches: Some homes have sections with different pitches, such as a steep main roof and a shallower porch roof. Each section needs its own pitch multiplier applied before the areas are added together.
Step 7: Convert to Roofing Squares and Add Your Waste Factor
Metal roofing materials are typically priced and ordered by the roofing square, which equals 100 square feet of coverage. Once you have your total adjusted surface area in square feet, divide by 100 to get your number of squares.
From there, add your waste factor. For a simple gable roof with minimal cuts and few penetrations, a 10 percent waste factor is generally appropriate. For roofs with multiple hips, valleys, dormers, or steep pitches that require more complex panel cutting, a 15 to 20 percent waste factor is a more prudent allowance.
The formula looks like this: (Total square feet divided by 100) multiplied by your waste factor equals your total squares to order.
Tools and Technology That Make Roof Measurement Easier
Manual measurement is reliable but time-consuming, particularly on complex roofs. Several tools and technologies have become widely available that can simplify the process or provide a cross-check against manual calculations.
- Satellite and aerial measurement software: Tools such as EagleView or Hover use aerial imagery and photogrammetry to calculate roof area, pitch, and linear measurements from ground level. These tools are used routinely by roofing contractors and insurance adjusters and provide reports accurate enough for most material ordering purposes. Some platforms offer consumer access, and many contractors will share a measurement report as part of their initial consultation.
- Smartphone apps: Options including Measure, MagicPlan, and several roofing-specific tools allow homeowners to use their phone’s camera and sensors to measure areas and calculate pitch with reasonable accuracy. These work best as a starting estimate or sanity check rather than a primary measurement source for large orders.
- Laser distance measurers: These are a significant upgrade over tape measures for long horizontal measurements from the ground. A quality laser measurer allows a single person to accurately measure wall lengths, eave runs, and ridge lengths from a safe position without the error that comes from stretching a tape measure across large distances.
Common Measurement Mistakes That Cost Property Owners Money
Even careful homeowners make predictable errors when measuring for metal roofing. Knowing where things go wrong is half the battle.
Forgetting the Overhang
The roof surface extends beyond the exterior wall to form the eave overhang, and that surface area is part of what gets covered with roofing material. Measuring only to the exterior wall line and forgetting to add overhang depth on each side consistently results in underestimated material quantities.
Using the Footprint Without the Pitch Multiplier
This is the single most common measurement error and the one with the largest potential impact. A homeowner who measures their 2,000 square foot footprint and orders material for 2,000 square feet of coverage on a 9:12 pitched roof is short by 500 square feet before waste factor is even considered. Always apply the pitch multiplier before converting to squares.
Measuring Only One Side of a Symmetric Roof
On a simple gable roof, both sides are the same size. Some homeowners measure one slope and forget to double it. The sketch from Step 2 prevents this because it makes both planes visually obvious.
Ignoring Complex Features
Dormers, turrets, and multiple intersecting hip sections all add roof surface that basic perimeter measurements do not capture. These are also the areas where panel cuts generate the most waste, making them doubly important to measure accurately.
Not Confirming Measurements with a Second Pass
Measurement errors compound when a single set of numbers is used without verification. Take the time to measure twice, particularly on critical dimensions like ridge length and eave length, which anchor all your other calculations.
Skip the Guesswork and Get Your Project Right from the Start
Measuring a roof accurately is a skill worth developing, and understanding the process makes you a better-informed buyer and partner for any contractor you work with. That said, there is no substitute for a professional measurement when you are preparing to invest in a metal roofing system that is meant to last for decades.
At Great State Roofing, we provide thorough roof assessments and precise measurements as part of our project process, so you never have to wonder whether the numbers driving your material order and your bid are right. We serve homeowners throughout the Cornelius and surrounding areas with the kind of attention to detail that a long-term roofing investment deserves.
When you are ready to move from planning to action, contact us today and let our team take the guesswork out of your metal roofing project from the very first measurement.

Very professional. Quality work. I would highly recommend for any roofing needs.