How to Measure a Roof for Shingles (7 Step Guide)
Posted 12.23.25 | 8 Minute Read
Replacing a roof can feel like a big job, but knowing how to measure a roof for shingles helps make the process easier and more accurate. Whether you’re planning a DIY estimate or simply want to understand what your contractor is quoting, proper measurements ensure you order the right amount of materials and avoid costly mistakes.
In this guide, you’ll learn:
- The importance of accurate roof measurements
- Step-by-step instructions to calculate square footage
- How roof pitch and shape affect shingle needs
- Tips for reducing waste and saving money
- When to call a professional for a precise measurement
Why Measuring Your Roof Matters Before a Project Begins

Accurate measurements do more than determine how many bundles of shingles you need—they help you stay within budget, reduce waste, and ensure the job runs smoothly. Estimating too low can leave you short on materials, while ordering too much adds unnecessary cost. For homeowners in Fort Mill and surrounding areas, where roof shapes and materials can vary widely, understanding the basics is invaluable.
- Avoid Material Shortages: Knowing your roof’s exact dimensions ensures you order the right number of shingles and underlayment rolls.
- Prevent Budget Surprises: Calculating correctly before you buy helps control costs and reduces leftover materials.
- Improve Installation Efficiency: Contractors can plan work more efficiently when the correct measurements are provided.
- Support Warranty Requirements: Some manufacturers require exact measurements for proper coverage.
- Enhance Energy Performance: Measuring accurately helps determine ventilation, insulation, and roof-to-attic balance.
Even if you plan to hire professionals, having a basic understanding of roof measurement ensures transparency and confidence during the project.
7 Step Guide to Measure a Roof for Shingles
Every roof has a slightly different shape, slope, and surface area. These seven steps outline how to measure accurately so you can estimate shingle quantity and costs like a pro.
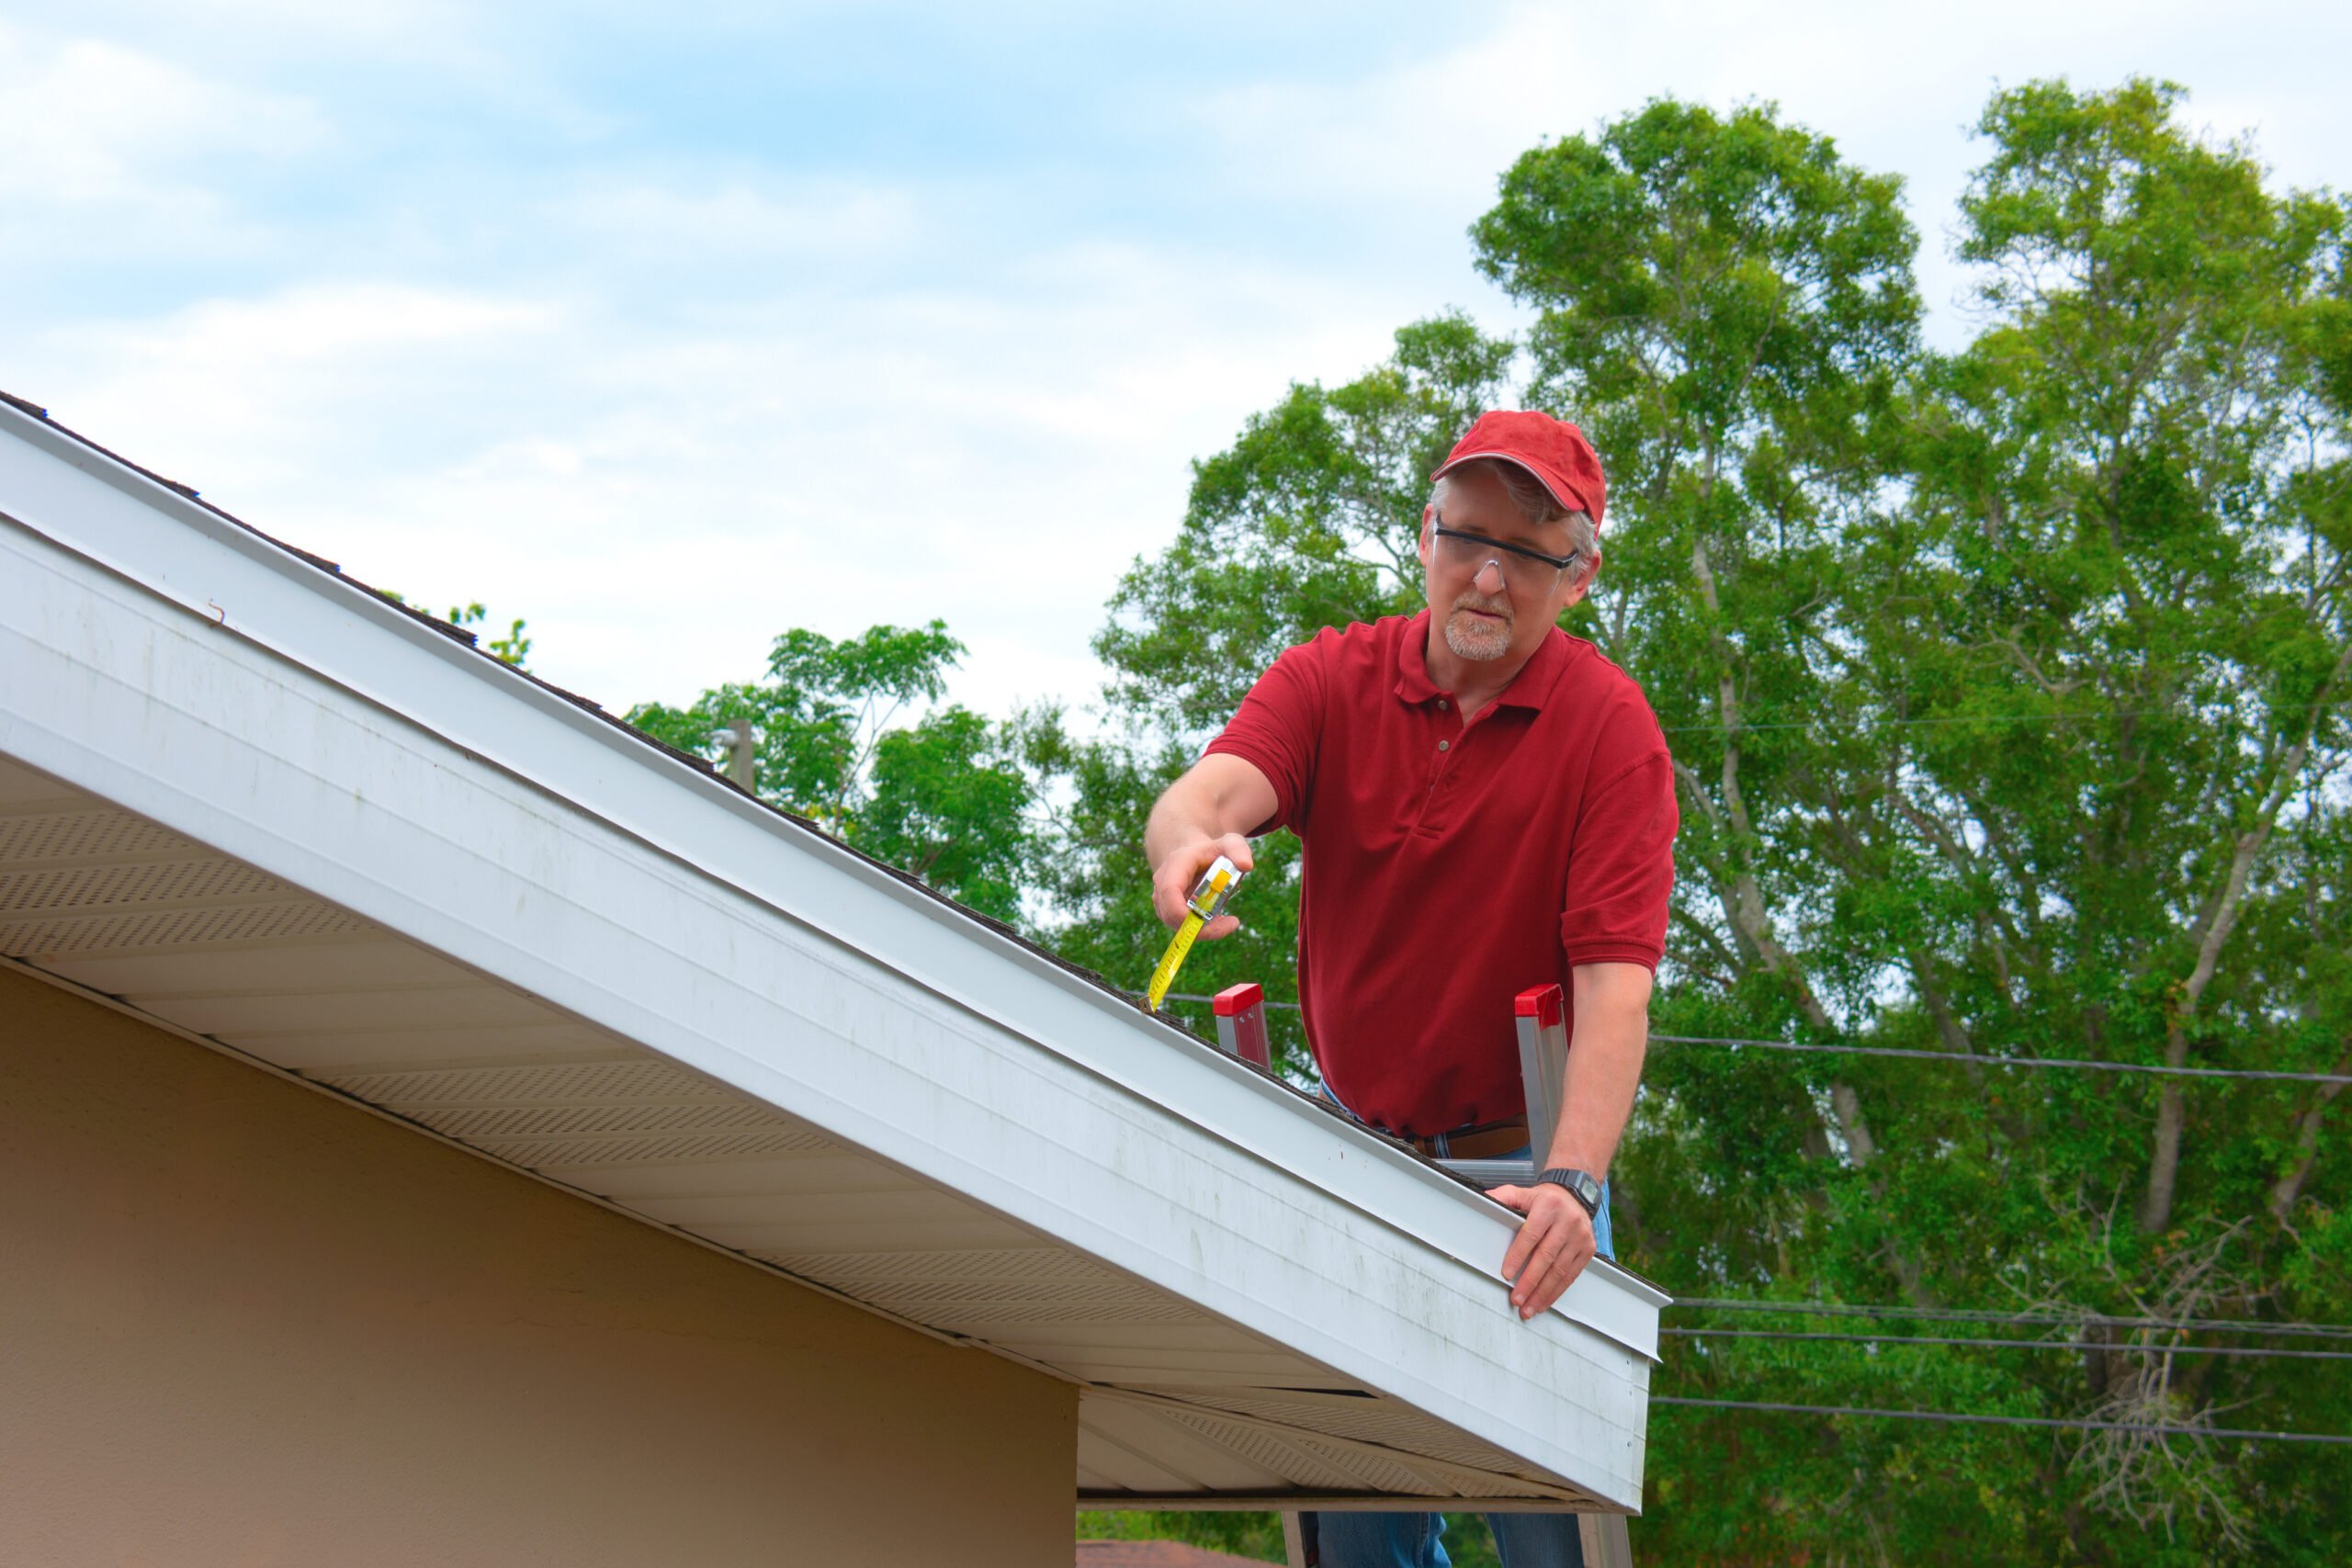
1. Gather the Right Tools
Before you begin, make sure you have the proper tools for safe and accurate measuring. Working at height requires caution, so safety should come first.
Recommended tools:
- Ladder tall enough to reach the roofline safely
- Measuring tape or laser distance measurer
- Notepad or tablet for recording dimensions
- Safety harness, gloves, and non-slip shoes
- Calculator (or roofing measurement app)
If you’re uncomfortable climbing on the roof, you can still take ground measurements and use digital estimation methods, which we’ll discuss later.
2. Measure the Ground Footprint
Start by measuring the length and width of your home at ground level. This gives you a baseline for calculating the roof area. Always include all parts of the structure covered by roofing, such as garages or extensions.
Example:
If your home is 40 feet long and 25 feet wide, multiply the two numbers:
40 × 25 = 1,000 square feet of ground coverage.
Keep in mind that this number does not yet account for slope or pitch—those will increase the total area you’ll need shingles for.
3. Determine Roof Pitch (Slope)
Roof pitch is the angle or steepness of your roof. It’s expressed as the amount of vertical rise over a 12-inch horizontal run. For instance, a 6/12 pitch means your roof rises six inches for every foot of run.
How to measure pitch:
- Place a level horizontally against your roof.
- Mark 12 inches along the level’s base.
- Measure the distance from the 12-inch mark up to the roof’s surface. That number (in inches) is your rise.
Pitch multiplier table:
| Pitch (inches per foot) | Multiplier |
| 4/12 | 1.054 |
| 5/12 | 1.083 |
| 6/12 | 1.118 |
| 7/12 | 1.158 |
| 8/12 | 1.202 |
| 9/12 | 1.250 |
| 10/12 | 1.305 |
Once you have your pitch, you can use the multiplier to adjust your ground measurement for slope.
4. Calculate Total Roof Area
To get your total roof area, multiply the ground footprint by the pitch multiplier. This adjustment accounts for the additional surface created by slope.
Example:
Ground area = 1,000 sq. ft.
Pitch = 6/12 (multiplier = 1.118)
1,000 × 1.118 = 1,118 sq. ft. of total roof area.
If your home has multiple roof sections (such as a garage or porch), measure each separately and add them together for the final total.
5. Convert Roof Area into Roofing Squares
In the roofing industry, materials are measured in “squares.” One square equals 100 square feet of roof area. Divide your total roof area by 100 to determine how many squares you need.
Using the previous example:
1,118 ÷ 100 = 11.18 squares.
Always round up to ensure you have enough shingles to cover waste, valleys, and overlaps.
Tip:
Most asphalt shingles are sold in bundles, with three bundles per square.
Multiply your total squares by three to get the number of bundles you’ll need.
11.18 × 3 = about 34 bundles of shingles.
6. Add a Waste Allowance
Even experienced roofers account for waste when cutting and fitting shingles. The waste percentage depends on your roof’s complexity.
Typical waste percentages:
- Simple gable roofs: 5–7%
- Hip roofs or roofs with valleys: 10–12%
- Complex or steep roofs: up to 15%
To calculate, multiply your total squares by the waste factor.
11.18 × 1.10 = 12.3 squares after 10% waste allowance.
That means you’d need approximately 37 bundles of shingles total.
7. Double-Check Your Numbers
Before placing an order, review all measurements and calculations carefully. If possible, compare your results with an online roof calculator or consult a roofing professional for confirmation.
For added accuracy:
- Re-measure each roof section separately.
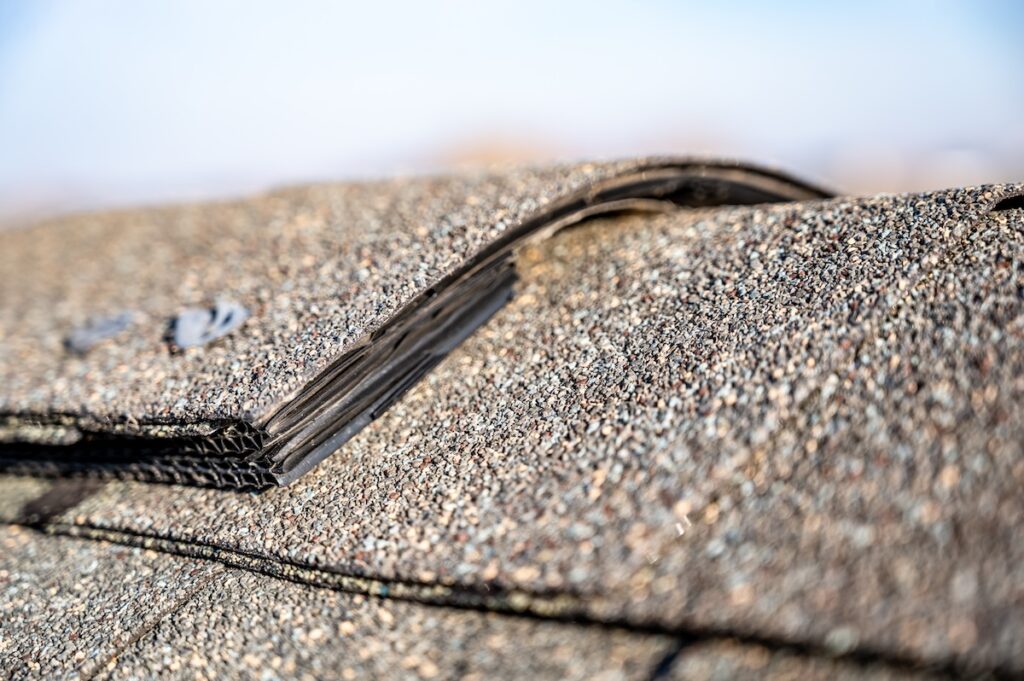
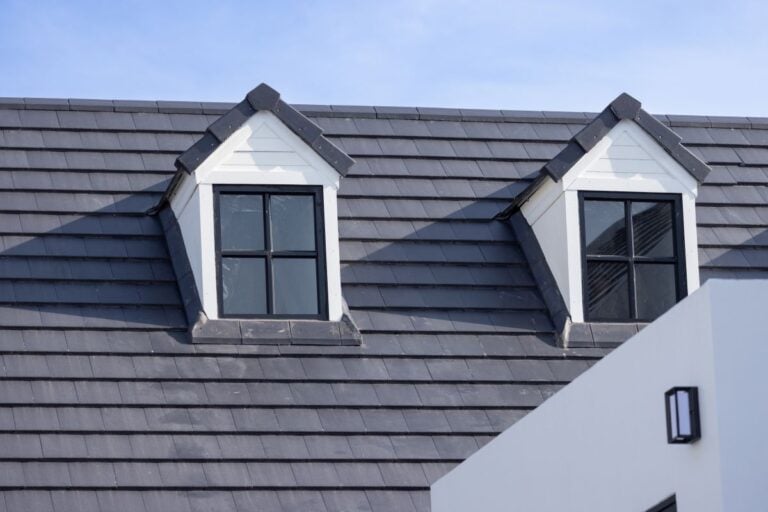
- Include dormers, skylights, and overhangs in your total area.
- Subtract large flat surfaces not covered by shingles (like chimneys).
Getting this step right ensures your material estimate is precise, reducing both cost and waste.
Advanced Methods for Measuring Roofs
While manual measurement works well for small or simple roofs, newer technologies make it easier to get precise results without leaving the ground.
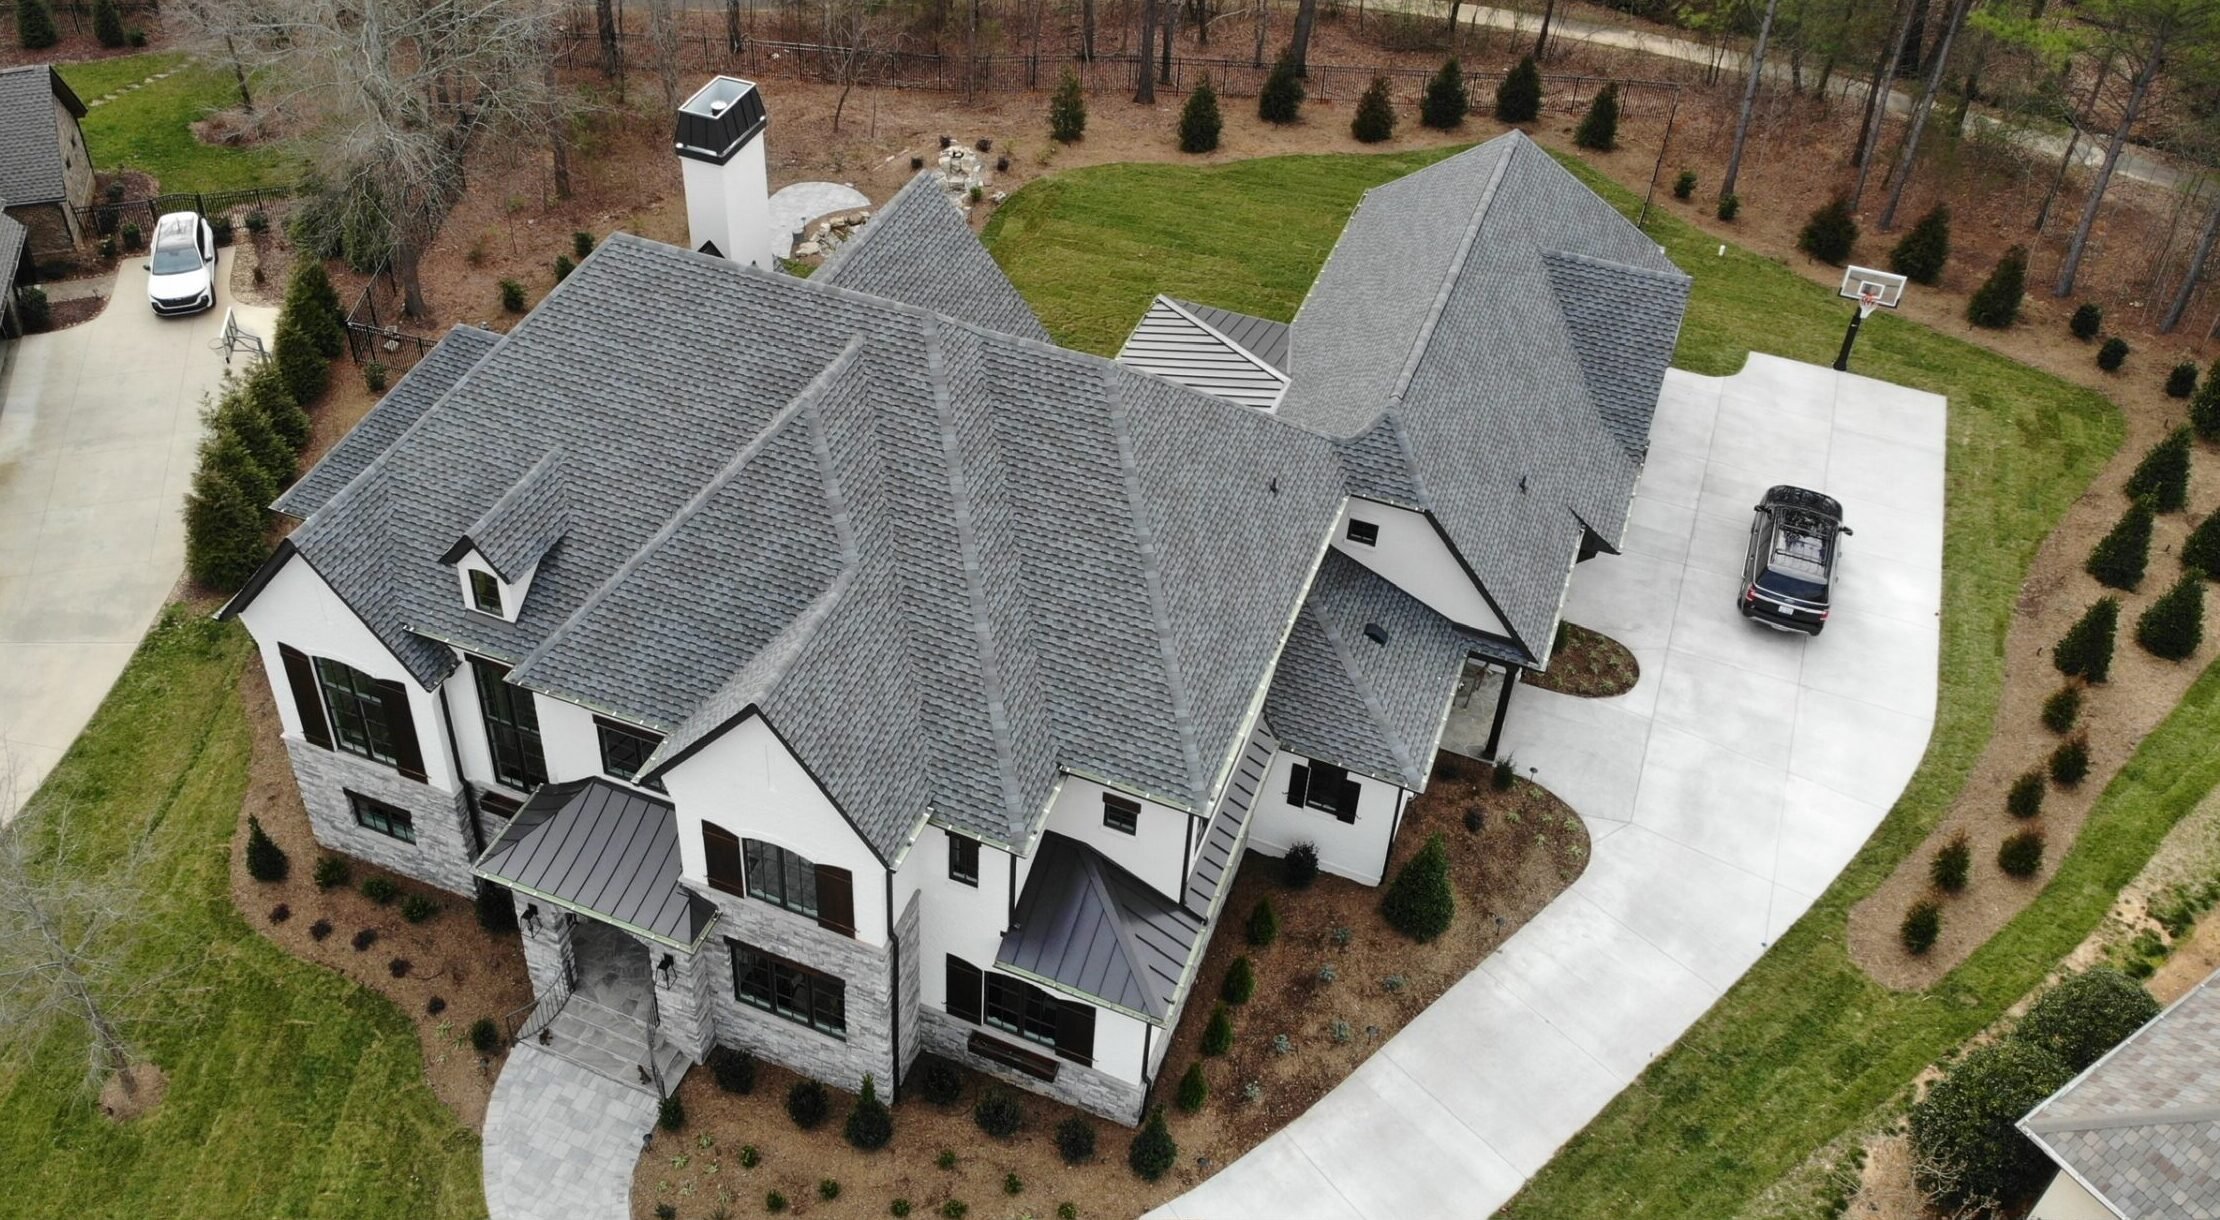
Drone Roof Measurement
Roofing companies often use drones to capture detailed aerial imagery. Specialized software then calculates roof dimensions, pitch, and area automatically. This is especially helpful for steep or complex roofs common in Fort Mill and surrounding areas.
Satellite Measurement Tools
Online tools and apps can use satellite imagery to generate detailed roof measurements within minutes. These programs provide professional-grade accuracy without physical access to the roof.
Professional Roofing Estimates
Hiring a licensed contractor ensures you receive an accurate estimate and complete materials list. Roofers combine manual inspection with digital tools to verify measurements, inspect for damage, and assess materials.
Key Factors That Affect How Much Shingle Material You’ll Need
Even after you’ve measured your roof, other factors can slightly change your material requirements. Understanding these variables will help fine-tune your order.
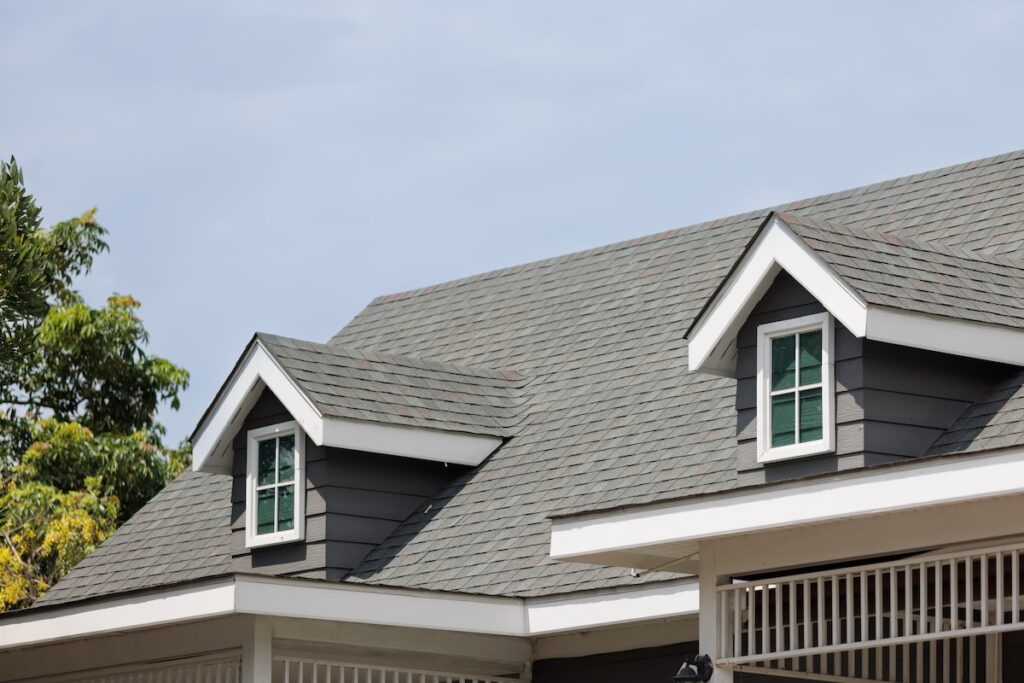
Roof Shape and Complexity
A simple gable roof requires fewer shingles and less cutting waste. In contrast, a hip or cross-gable roof includes more valleys and edges, increasing waste and complexity.
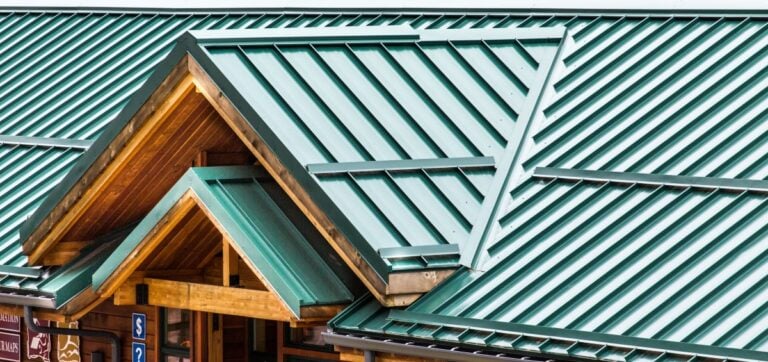
Shingle Type and Size
Architectural shingles often come in larger sizes and thicker layers than traditional 3-tab shingles. Because of their design, they may require slightly more material to ensure full coverage and proper overlap.
Roof Accessories
Don’t forget to include additional materials like ridge caps, starter shingles, and underlayment. These components complete your roofing system and protect against leaks.
Local Climate Conditions
In regions like Fort Mill and surrounding areas, where storms and humidity are common, extra materials may be needed for stronger sealing and reinforcement around roof edges.
Comparing DIY vs. Professional Roof Measurement
Measuring a roof yourself can save money upfront, but professional assessments provide precision, safety, and warranty protection. Here’s how both approaches compare:
| Aspect | DIY Measurement | Professional Measurement |
| Cost | Free (or low cost using apps) | Included with contractor estimate |
| Accuracy | Moderate (depends on skill and tools) | High (uses industry tools and software) |
| Safety | Risk involved with ladder use | Safe, handled by trained professionals |
| Time Required | 1–3 hours depending on complexity | Typically under 1 hour |
| Warranty Impact | No warranty validation | Helps maintain manufacturer and workmanship warranties |
For most homeowners, professional measurements offer peace of mind and long-term savings—especially when preparing for a full replacement.
Final Tips for Accurate Roof Measurement
Accuracy and consistency are key when determining how much material you need. Follow these quick reminders for reliable results:
- Measure twice before ordering materials.
- Include waste allowance based on roof complexity.
- Account for ridge caps and starter rows.
- Note roof pitch carefully—it significantly affects total area.
- Store your measurements for future maintenance or insurance needs.
If you’re planning a roofing upgrade in Fort Mill and surrounding areas, these best practices will help ensure your new roof is both functional and cost-effective.
Ready to Start Your Roofing Project?
Now that you know how to measure a roof for shingles, you’re one step closer to a confident, well-planned roofing project. Precise measurements not only save time and money but also ensure your home stays protected for years to come. Whether you’re planning a full replacement or preparing for a repair, the professionals at Great State Roofing can handle every detail—from accurate roof measurements to complete installation.
If you’d like expert help confirming your calculations or scheduling an inspection, contact us today to speak with Great State Roofing about your project.
Very professional. Quality work. I would highly recommend for any roofing needs.