TPO Pipe Boot 2026 (5 Installation Tips to Prevent Leaks)
Posted 3.17.26 | 7 Minute Read
Roof penetrations are one of the most common sources of leaks on commercial buildings, especially when flashing components are not installed correctly. A tpo pipe boot is designed to seal pipes that pass through a TPO roofing membrane, protecting the roof from moisture intrusion and structural damage. When installed properly, it helps maintain the integrity of the roofing system and prevents costly repairs. Many building owners looking to understand these systems better explore commercial roofing solutions designed for long term protection to see how proper installation and maintenance support roof durability.
In this guide, you will learn:
- What a TPO pipe boot is and why it matters for commercial roofs
- Five installation tips that help prevent leaks around roof penetrations
- Common causes of pipe boot failure on commercial roofs
- Maintenance strategies that extend the lifespan of pipe flashing
Why Pipe Penetration Protection Matters on TPO Roofs
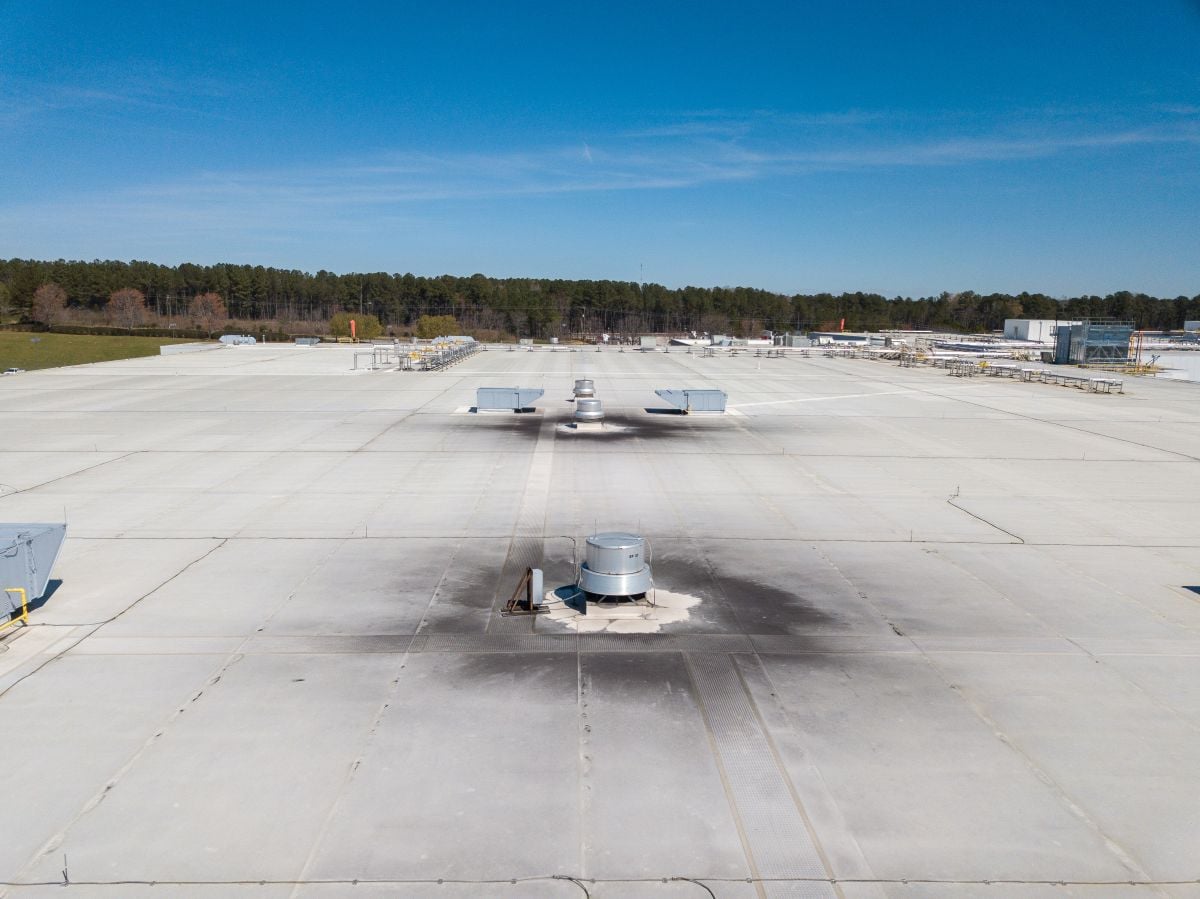
TPO roofing systems are widely used on commercial buildings because they offer durability, energy efficiency, and strong resistance to weather conditions. However, every pipe, vent, or conduit that passes through the roof creates a potential entry point for water. Without proper flashing, these areas can become weak spots in the roofing system.
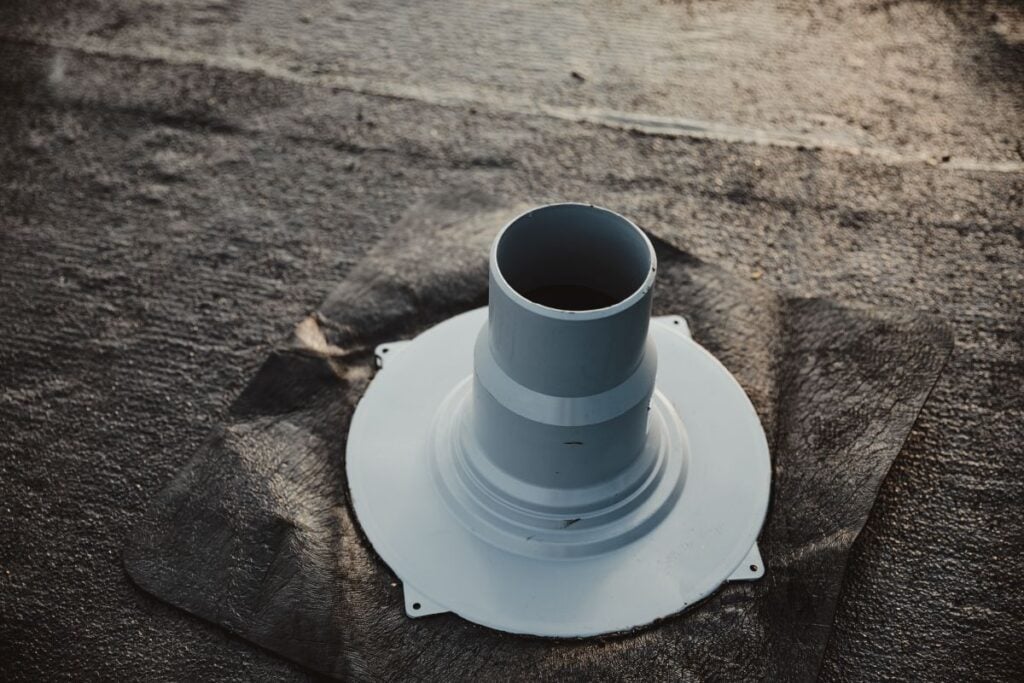
A pipe boot acts as a protective seal around these penetrations. It connects directly to the TPO membrane, creating a watertight barrier that prevents moisture from entering the roofing layers below. When installed properly, it allows the roof to remain flexible while maintaining protection against the elements.
Commercial properties in Davidson and surrounding areas often face seasonal weather changes that place stress on roofing systems. Proper pipe boot installation helps maintain roof performance and reduce the risk of leaks over time.
Several key benefits make pipe boots essential components of a TPO roofing system.
- Leak Prevention: Pipe boots create a watertight seal around penetrations where water could otherwise enter the roof system.
- Membrane Protection: Proper flashing prevents tearing or stress damage around pipe openings.
- Extended Roof Lifespan: Well protected penetrations help maintain the durability of the entire roofing membrane.
- Lower Repair Costs: Preventing leaks reduces the likelihood of expensive structural repairs.
- Improved System Integrity: Correct flashing supports the overall performance of the commercial roofing system.
Because penetrations are one of the most vulnerable parts of a roof, careful installation is essential for long term performance.
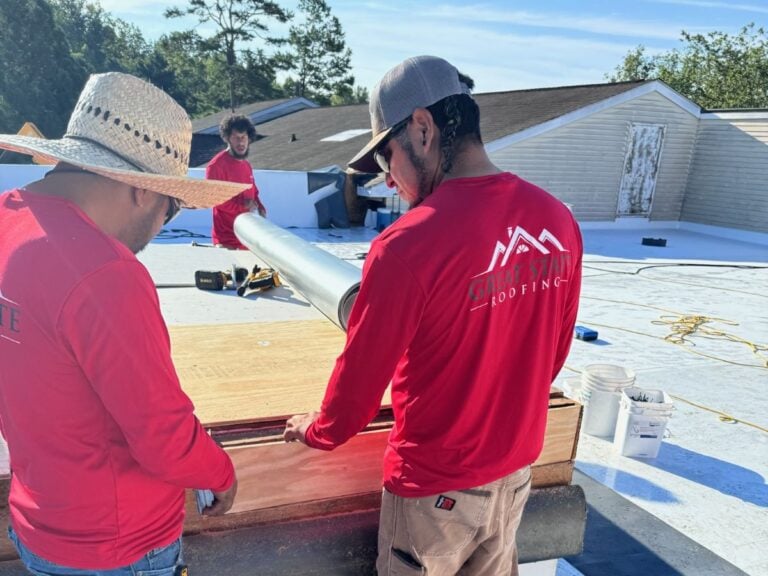
5 Installation Tips for TPO Pipe Boots to Prevent Leaks
Proper installation techniques make a major difference in whether a pipe penetration remains watertight for years or develops leaks soon after installation. These five best practices help ensure reliable protection around roof penetrations.
1. Select the Correct Pipe Boot Size
Choosing the correct pipe boot size is the first step in preventing leaks. A boot that is too loose will not create a tight seal around the pipe, while one that is too tight may stretch and weaken over time.
Installers typically confirm several factors before selecting a boot:
- The exact pipe diameter
- The flexibility of the flashing material
- Compatibility with the TPO membrane
A properly sized pipe boot fits snugly around the pipe while maintaining flexibility to accommodate minor movement.
2. Prepare the Roof Surface Before Installation
Before installing a pipe boot, the roof surface must be thoroughly cleaned and prepared. Dirt, dust, and moisture can prevent the boot from bonding correctly with the membrane.
Surface preparation typically involves:
- Removing debris from the membrane
- Cleaning the area with approved roofing cleaners
- Allowing the surface to dry completely
Proper preparation ensures strong adhesion between the pipe boot and the surrounding TPO membrane.
3. Heat Weld the Boot to the Membrane
TPO roofing systems rely on heat welding to create durable seams. During installation, the base of the pipe boot is heat welded directly to the roofing membrane.
This process creates a strong bond that forms a watertight seal.
Professional installers carefully control temperature and pressure during welding to ensure:
- Uniform seam strength
- Complete adhesion around the boot base
- Long term waterproof performance
Heat welding is one of the most critical steps in preventing penetration leaks.
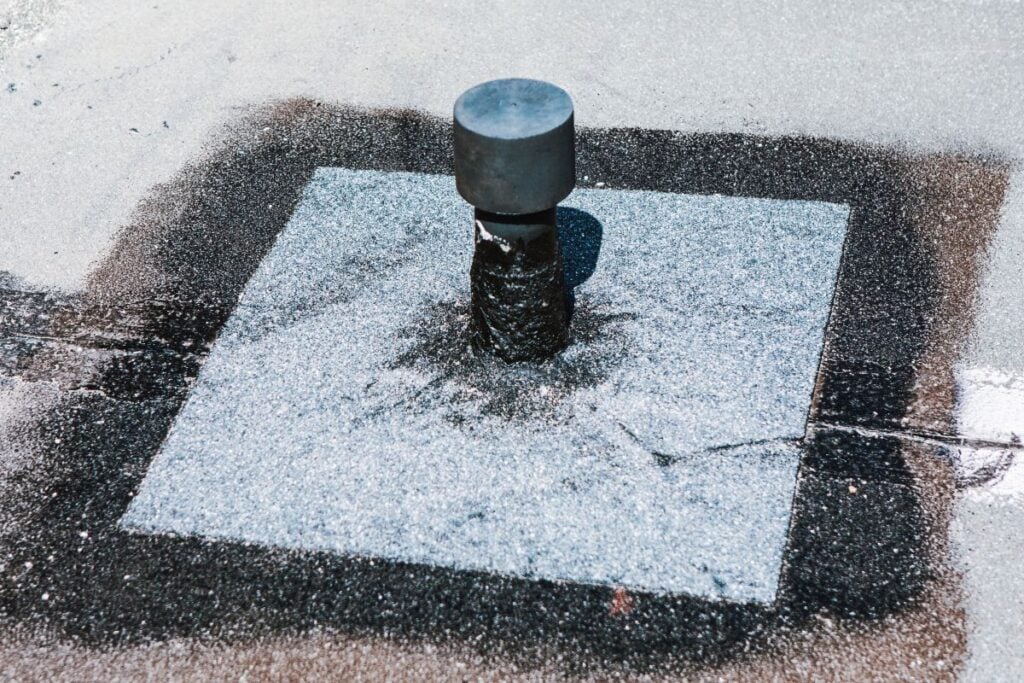
4. Secure the Top Edge of the Boot
While the base of the pipe boot seals the membrane, the upper edge must also be secured to prevent water from entering between the pipe and flashing.
Roofing professionals often use:
- Stainless steel draw bands
- Compression clamps
- Approved sealants
These components tighten the flashing around the pipe and help prevent water from entering during heavy rain or snow.
5. Inspect the Seams After Installation
After the pipe boot is installed, all seams should be carefully inspected to confirm that they are properly welded and sealed.
Professional roofing teams typically inspect seams by:
- Conducting visual inspections
- Using seam probes to detect weak areas
- Checking for consistent welding around the flashing
These inspections help identify any installation issues before the roof is exposed to weather.
Common Causes of Pipe Boot Leaks
Even well designed roofing systems can develop problems if pipe boots are damaged or installed incorrectly. Understanding common failure causes helps building owners recognize issues early.
Several factors can contribute to pipe boot leaks.
Improper Installation
Incorrect installation is one of the most frequent causes of pipe penetration leaks. Poor seam welding, incorrect trimming, or improper sealing can create vulnerabilities that allow water to enter the roofing system.
Professional installation significantly reduces this risk.
Weather Exposure
Commercial roofs experience constant exposure to sunlight, rain, and temperature fluctuations. Over time, these conditions may weaken flashing materials or sealants.
Extreme weather can gradually lead to:
- Flashing cracks
- Membrane separation
- Sealant deterioration
Regular inspections help detect these issues before they lead to leaks.
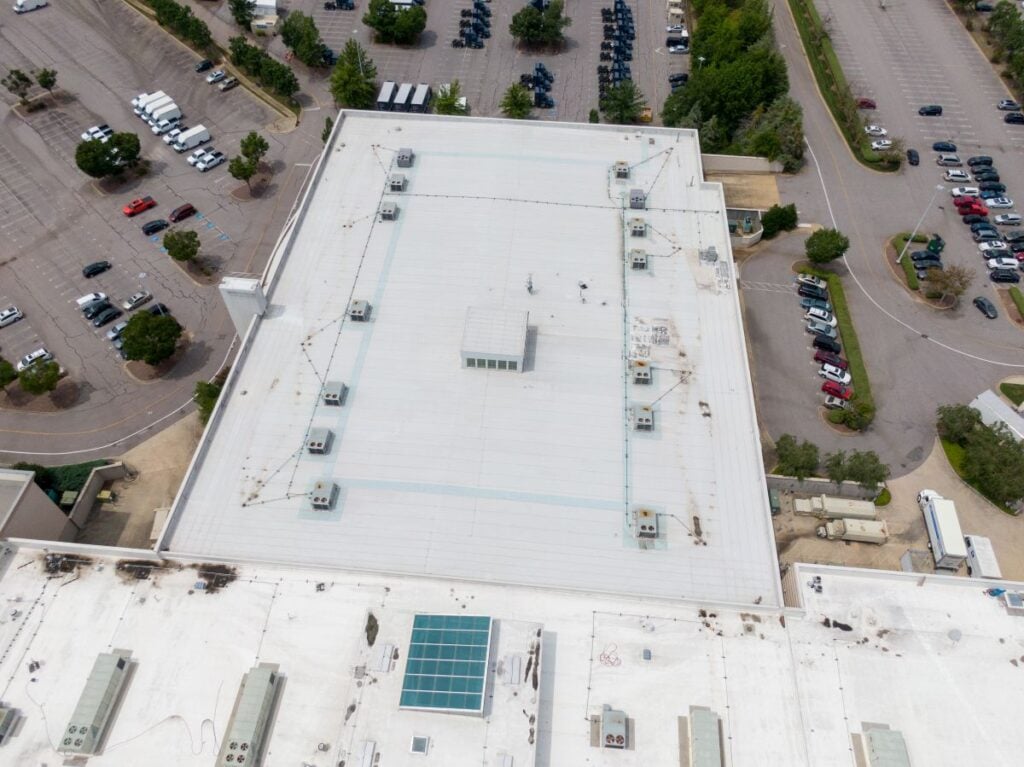
Mechanical Damage
Roof penetrations are often located near HVAC units or other rooftop equipment. Maintenance work or foot traffic can accidentally damage flashing components.
Protective walk pads and controlled roof access help reduce this risk.
Aging Roofing Materials
Like all roofing components, pipe boots eventually age. Exposure to ultraviolet radiation and temperature changes can reduce flexibility over time.
Replacing aging flashing components before they fail helps prevent water damage.
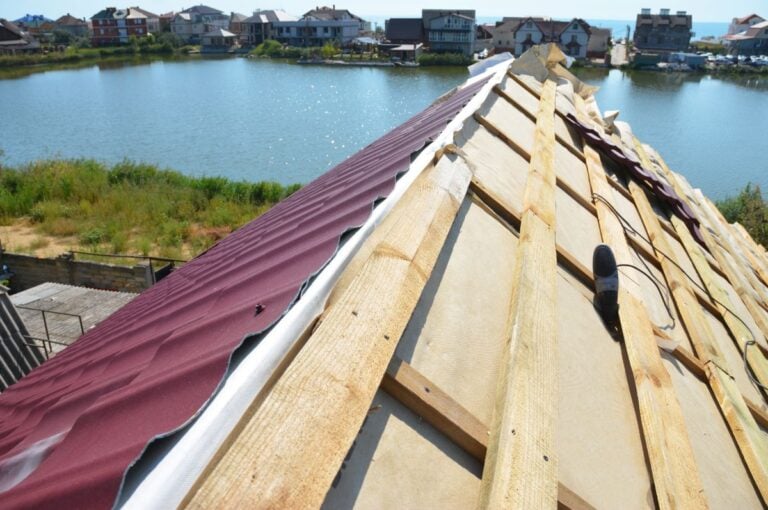
Pipe Boot Materials and Compatibility with Roofing Systems
Different roofing systems use different types of flashing materials. TPO pipe boots are designed specifically for TPO membranes and provide the most reliable compatibility.
Below is a comparison of common pipe flashing materials.
| Pipe Boot Material | Compatible Roofing System | Key Advantages |
| TPO Pipe Boots | TPO Membranes | Heat weldable and highly durable |
| EPDM Flashing Boots | EPDM Roofs | Flexible rubber construction |
| Lead Flashing | Various Roof Types | Long lasting but less flexible |
| Silicone Flashing | Multiple Systems | Excellent UV resistance |
Using flashing materials designed for the specific roofing membrane ensures proper sealing and long term durability.
For TPO systems, TPO pipe boots provide the best performance because they can be welded directly to the membrane.
Maintenance Tips to Extend Pipe Boot Lifespan
Routine maintenance helps ensure that pipe boots remain effective for many years. Even properly installed flashing can degrade if it is not inspected periodically.
Building owners can follow several maintenance practices to support long term performance.
- Schedule annual roof inspections: Professional inspections help detect early signs of flashing wear.
- Check sealants regularly: Sealants around pipe boots should remain flexible and intact.
- Monitor welded seams: Seam separation should be repaired immediately.
- Remove debris from roof surfaces: Debris buildup can trap moisture around penetrations.
- Limit unnecessary roof traffic: Reducing foot traffic helps prevent accidental flashing damage.
Businesses in Davidson and surrounding areas often include penetration inspections as part of routine commercial roof maintenance programs.
Protecting Your Commercial Roof from Penetration Leaks
Roof penetrations are one of the most vulnerable areas on any commercial roofing system. Even a small installation mistake around a pipe flashing can allow water to enter the building and cause significant structural damage.
Understanding how pipe boots function and ensuring proper installation helps protect the integrity of the entire roofing system. When flashing is installed correctly and inspected regularly, it can provide long lasting protection against leaks.
If you want professional assistance with roof penetrations or other commercial roofing needs, the experienced team at Great State Roofing is ready to help. Their specialists provide inspections, repairs, and roofing services for businesses throughout Davidson and surrounding areas. If your building needs expert roofing support, contact us today to schedule a consultation with Great State Roofing and protect your commercial property from future roof leaks.


Very professional. Quality work. I would highly recommend for any roofing needs.