How to Install Architectural Shingles (7 Step Roofing Guide)
Posted 2.05.26 | 8 Minute Read
Upgrading your roof is one of the smartest home improvement investments you can make—and learning how to install architectural shingles properly can mean the difference between long-term protection and expensive repairs. These durable shingles offer serious curb appeal and long-lasting performance, especially when installed with precision. Homeowners in Cornelius and surrounding areas often choose architectural shingles for their resilience and aesthetic edge. If you’re considering a roof upgrade, this guide will walk you through the essentials and help you understand what to expect.
For those exploring better protection for their home, understanding this process is the first step—especially when looking into options like those highlighted on this page of our site.
- Learn why architectural shingles outperform standard shingles
- Discover the 7 key steps in the installation process
- Get expert insights to avoid common mistakes
- Explore tools, materials, and timing recommendations
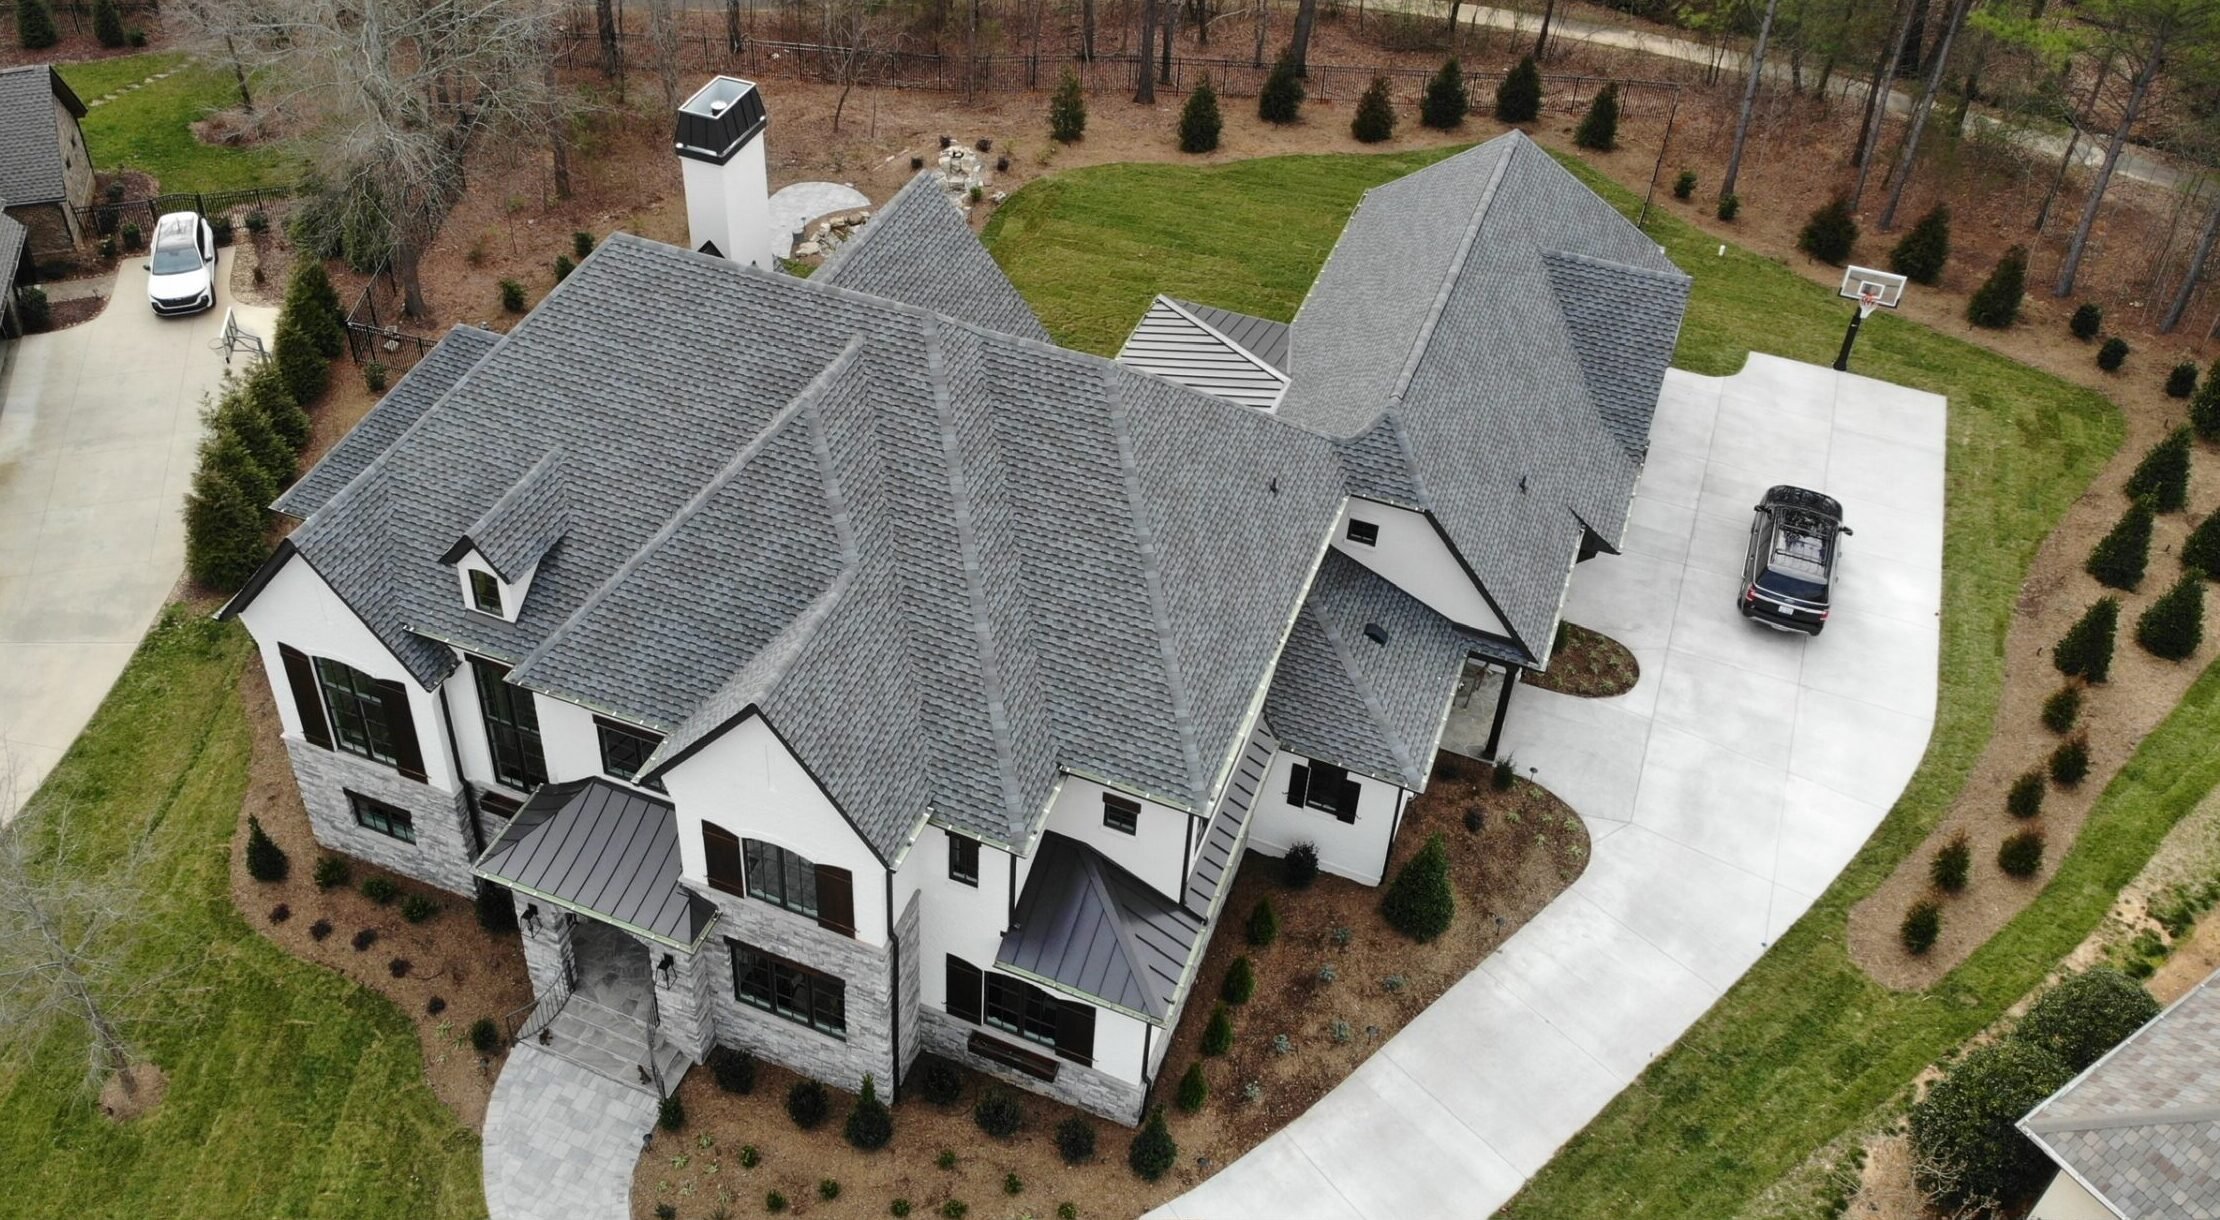
Why Choose Architectural Shingles?
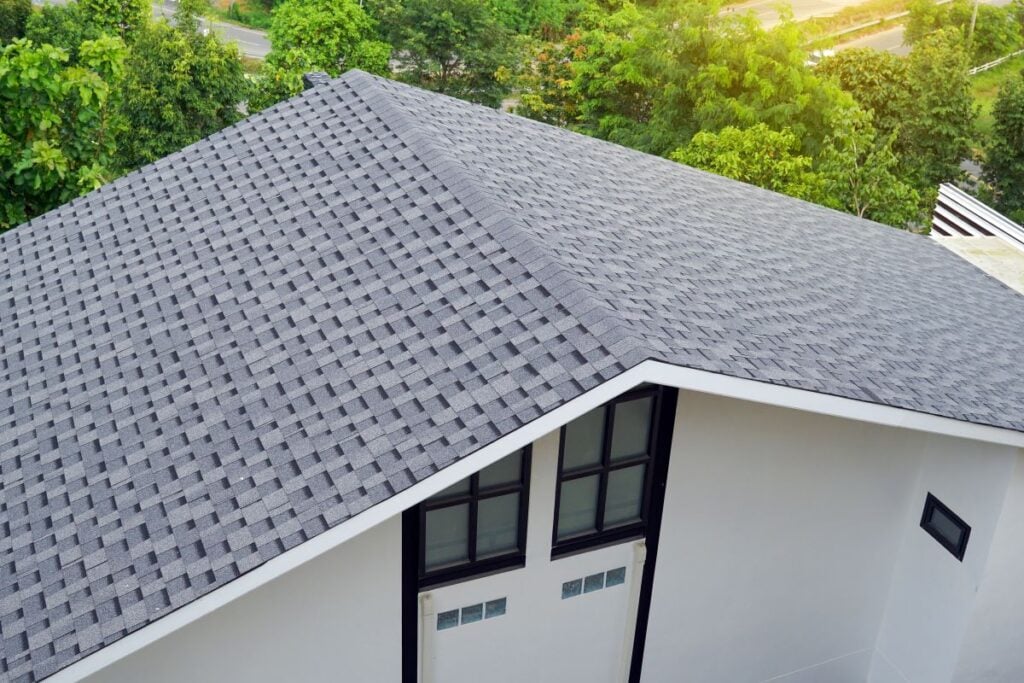
Architectural shingles, also known as dimensional or laminated shingles, are a favorite among homeowners for their strength, longevity, and enhanced appearance. Their layered design not only looks great but also offers added performance in a range of weather conditions.
- Superior Durability: These shingles are heavier and thicker, standing up better to wind, hail, and extreme temperatures.
- Dimensional Curb Appeal: With a textured design that mimics slate or wood shake, they offer more depth and character than flat 3-tab shingles.
- Increased Home Value: The visual appeal and long lifespan of architectural shingles can boost your home’s resale potential.
- Extended Warranty Protection: Many brands offer warranties of 30 years or more when installed correctly.
- Better Weather Resistance: Ideal for Cornelius and surrounding areas, where heat, humidity, and seasonal storms can test a roof’s strength.
By choosing architectural shingles, you’re not just upgrading your roof—you’re investing in long-term home protection. If you’re planning a roofing upgrade and want a team that understands local weather demands, Great State Roofing provides proven commercial roofing services in Charlotte, NC backed by experienced crews and quality installation standards.
7 Steps to Install Architectural Shingles the Right Way
Roofing installation is a detailed process that affects both performance and warranty coverage. These seven steps will give you a complete picture of what’s involved.
1. Tear Off the Old Roof
Before installing new shingles, the existing roofing material must be removed down to the decking.
- Use a roofing shovel or pitchfork to pry up shingles and nails
- Roll roofing felt and underlayment should also be removed
- Inspect for damaged or rotting decking, and repair as needed
Skipping this step may compromise the integrity of the new roof and void manufacturer warranties.
2. Install Drip Edge and Ice/Water Barrier
The drip edge and ice/water shield are your roof’s first line of defense. If you’re unsure how these edge components differ (and why it matters during shingle installation), this guide on rake board vs fascia breaks down what each piece does and how proper edge detailing helps prevent rot, staining, and long-term moisture damage.
- Install drip edge along eaves and rake edges to direct water away from fascia and into gutters
- Lay ice and water shield in valleys and along the eaves to protect against water infiltration
- In regions like Cornelius and surrounding areas, this step is vital to prevent damage from heavy rains and humidity
Proper sealing at edges and valleys prevents long-term issues like wood rot and mold buildup.
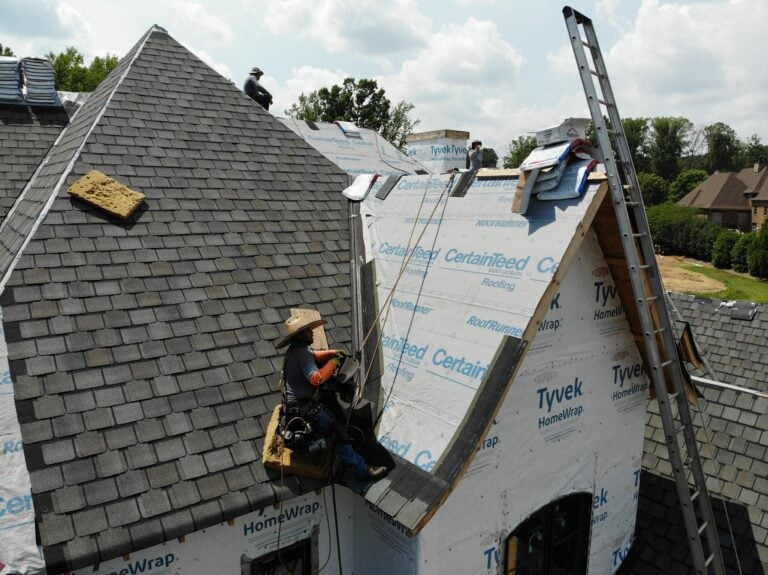
3. Lay Down Synthetic Underlayment
Underlayment acts as a moisture barrier between the shingles and the wood decking. This overview of metal roof insulation explains the bigger picture of how insulation supports energy efficiency and helps reduce stress on roofing materials over time.
- Use high-quality synthetic underlayment for added strength and weather resistance
- Overlap each course by at least 4 inches, working from the bottom up
- Fasten with cap nails to ensure it stays put during wind or installation
Underlayment is crucial in areas with variable weather patterns, offering secondary protection even before the shingles go on.
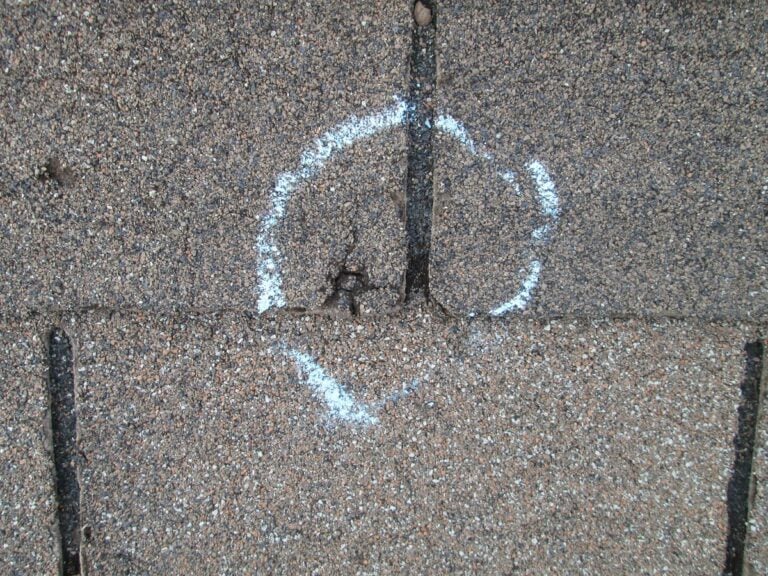
4. Snap Chalk Lines for Shingle Layout
Chalk lines help ensure a straight, professional appearance and proper water shedding.
- Snap a starter line along the eave, then create horizontal lines every 5-5/8″ to guide each course
- Mark vertical lines to help stagger shingle joints every other row
- Verify alignment often—especially when working around vents, dormers, or valleys
Even small misalignments can become very noticeable from the ground once the roof is complete.
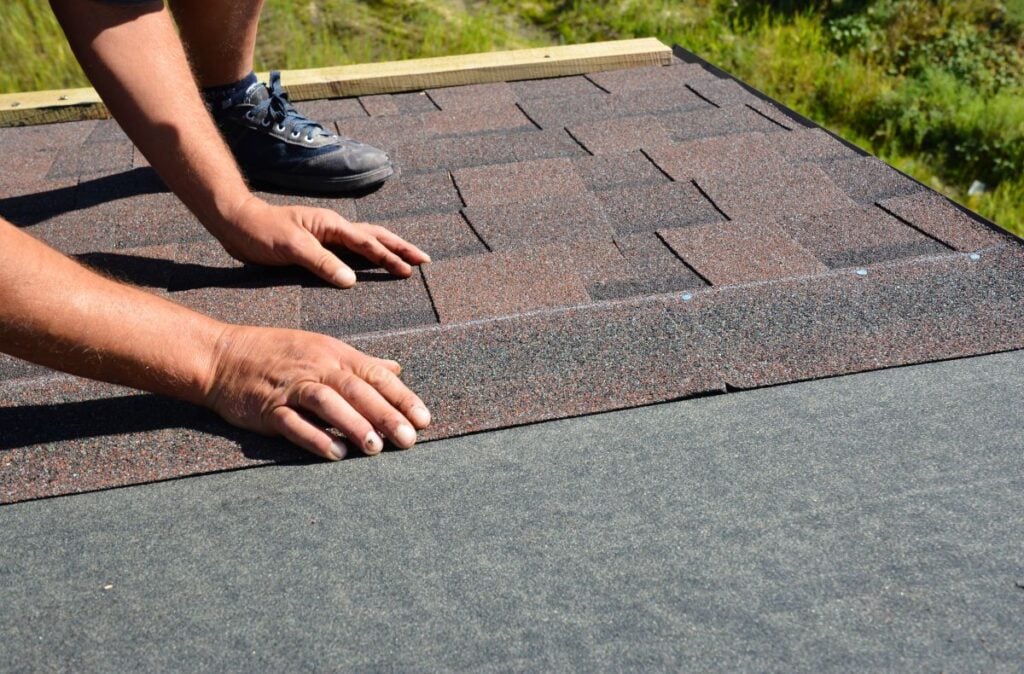
5. Install Starter Strip Shingles
Starter strips seal the first course of shingles and protect against wind uplift.
- Place the starter strip along the edge of the roof, flush with the drip edge
- Make sure the adhesive strip faces the eave edge
- Nail according to manufacturer specifications—usually 3 to 4 nails per strip
Using leftover shingles as a starter course is a common DIY mistake that reduces wind protection.
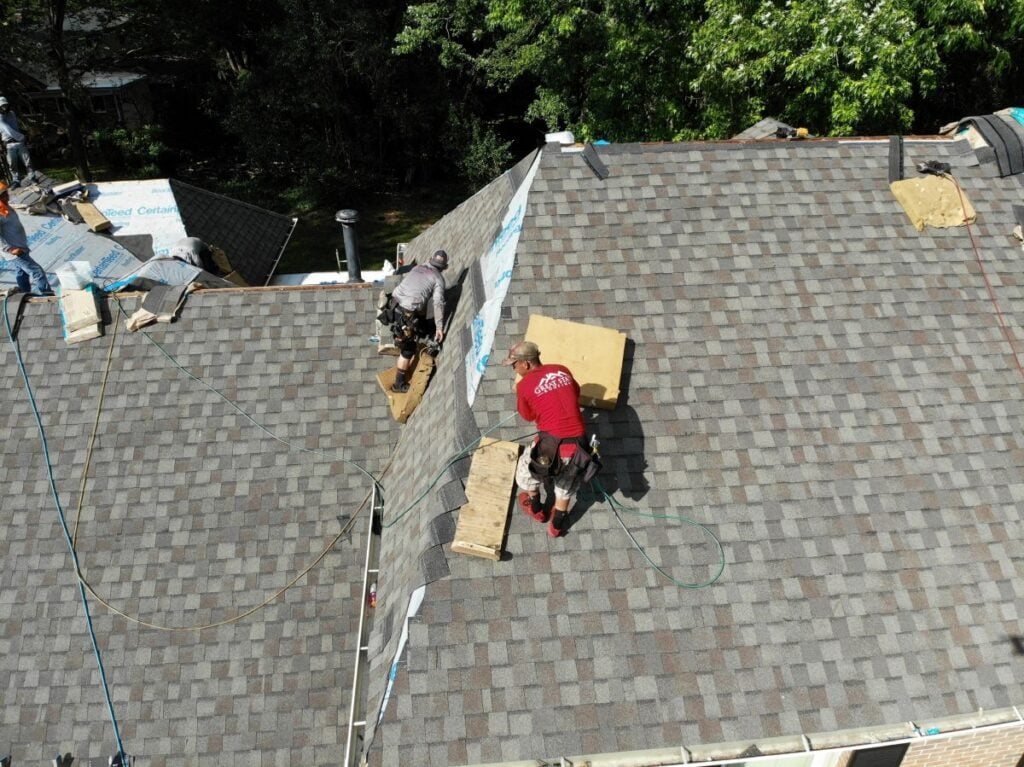
6. Apply the Architectural Shingles
This is where the bulk of the visual transformation happens.
- Start with a full shingle above the starter strip at one end of the roof
- Stagger joints for a natural, sawtooth pattern
- Nail each shingle with 4–6 nails, depending on wind zone and product specs
- Work up the roof in rows, constantly checking alignment with chalk lines
Tip: Cut shingles with a hook blade utility knife for cleaner cuts and less wear on materials.
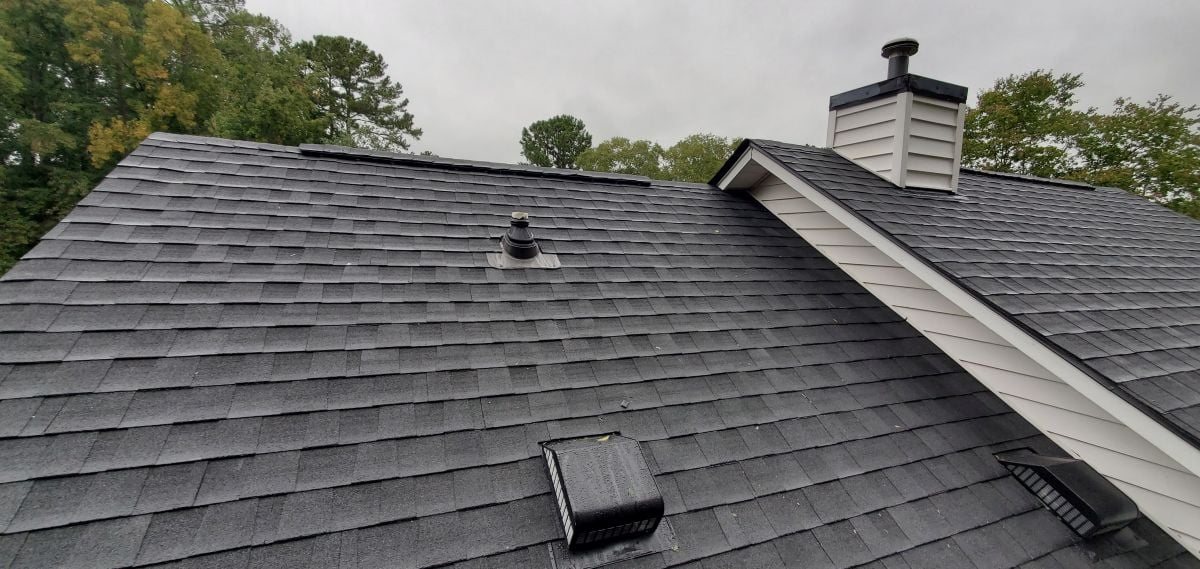
7. Install Ridge Caps and Final Flashing
The last step finishes the roof and seals it at the peak.
- Use specially designed ridge cap shingles or cut them from architectural shingles
- Overlap each piece and nail on either side of the ridge
- Apply sealant at nail heads and over exposed flashing for added protection
Once complete, do a full inspection for uniformity, sealed edges, and consistent nailing.
Must-Have Tools and Materials
Before starting your project or evaluating your roofer’s bid, it’s helpful to understand what’s needed.
- Roofing Nailer: Speeds up installation and ensures proper nailing depth
- Utility Knife with Hook Blades: Makes clean cuts without tearing the shingles
- Roof Jacks and Safety Harness: Keeps workers safe, especially on steeper slopes
- Chalk Line and Measuring Tape: Ensures straight courses and spacing
- Cap Nails and Galvanized Roofing Nails: For underlayment and shingles, respectively
- Underlayment, Flashing, Sealant: Vital components for sealing and water protection
Homeowners in Cornelius and surrounding areas should also consider attic ventilation options like ridge vents or gable vents to manage temperature and humidity year-round.
Architectural Shingles vs 3-Tab: Know the Difference
While 3-tab shingles are less expensive, architectural shingles offer greater value over time. Here’s how they compare:
| Feature | Architectural Shingles | 3-Tab Shingles |
| Lifespan | 25–30+ years | 15–20 years |
| Warranty | Often 30–50 years | 20–25 years |
| Appearance | Textured, dimensional | Flat and uniform |
| Wind Resistance | Up to 130 mph | Up to 60 mph |
| Cost | Moderate to high | Lower upfront cost |
| Resale Value | Higher | Lower |
In climates like Cornelius, where storms can bring high winds and heavy rain, the performance difference alone can make architectural shingles the more cost-effective choice over time.
Should You DIY or Hire a Roofing Pro?
While some homeowners are handy enough to tackle home upgrades, roofing isn’t always a DIY-friendly project. For property owners looking for expert help, Great State Roofing offers dependable commercial roofing services in Fort Mill, SC to ensure the job is done safely and correctly the first time.
Consider DIY Only If:
- You have experience with roofing or construction work
- Your roof is low-pitched and easy to access
- You’re prepared with all safety gear and tools
Hire a Pro If:
- Your roof is steep, multi-leveled, or has complex features
- You want to preserve your manufacturer warranty
- You value time, safety, and long-term workmanship
Hiring a certified roofing contractor in Cornelius and surrounding areas ensures you meet local code requirements, pass inspections, and get the job done safely and efficiently.
Best Time of Year to Install Shingles in Cornelius
Timing can impact both the quality and convenience of a roofing project.
- Spring: Ideal temperatures and lower humidity make it a top choice
- Fall: Another popular time, especially to prepare before winter
- Avoid Summer Heat: Excess heat can make shingles difficult to handle
- Avoid Winter Cold: Cold temperatures can cause cracking or poor adhesion
Scheduling your project during spring or fall in Cornelius and surrounding areas also means you’ll beat the summer rush and avoid material shortages.
Ready for a Roof That Lasts?
Architectural shingles are a smart investment—but only when installed with precision and care. Every step, from removing the old shingles to sealing the final ridge cap, plays a vital role in protecting your home. As you’ve seen in this guide, installing them isn’t just a weekend project—it’s a process that requires skill, experience, and the right tools. Great State Roofing provides reliable commercial roofing services in Davidson, NC to help homeowners and property managers protect their buildings with workmanship that holds up season after season.
If you live in Cornelius or surrounding areas and want a new roof that delivers long-term performance and peace of mind, trust the experts who do it right the first time. To get started with your roofing upgrade, contact us today and see why so many homeowners trust Great State Roofing for quality, care, and craftsmanship that lasts.
Very professional. Quality work. I would highly recommend for any roofing needs.