Flat roofs are a popular choice among homeowners and businesses for their sleek design and space-saving benefits. But like any roof type, flat roofs are not immune to wear and tear. Knowing how to address issues quickly and effectively can save you time and money, while also ensuring the longevity of your roof.
This comprehensive guide will walk you through everything you need to know about flat roof repair. Here’s what we’ll cover:
- Signs a flat roof needs repairs
- 7 steps to repair a flat roof
- When to call the professionals
🤔 How to Know When Your Flat Roof Needs Repair
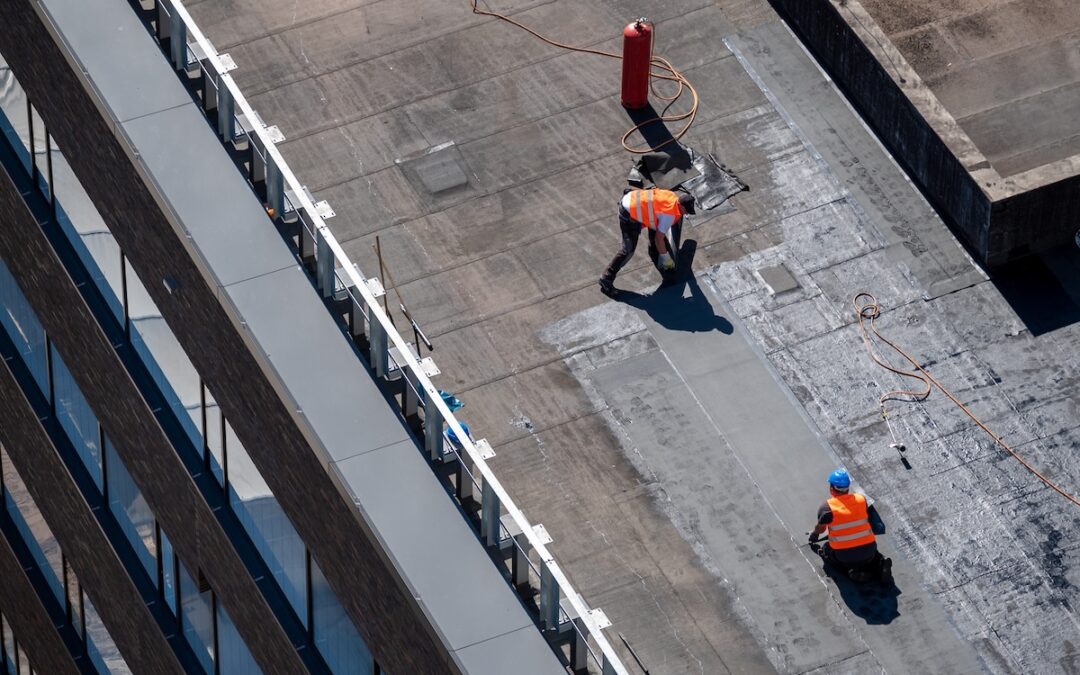
Flat roofs often display clear signs when they need maintenance. Key red flags include water pooling, which can lead to leaks, as well as visible leaks and water stains inside your building. Cracks, bubbles, or blisters on the roof’s surface are also common issues caused by UV radiation and moisture.
Other warning signs include sagging areas, which indicate weak spots in the roof structure, and damaged flashing around vents, chimneys, or edges that can result in leakage. If you spot any of these problems, it’s time to address them promptly to prevent further damage.
Benefits of Timely Flat Roof Repair
Don’t delay repairs. Here’s why acting fast is critical:
- Extend durability: Timely fixes can add years to your roof’s lifespan.
- Save money: Addressing minor issues early prevents costly full roof replacements.
- Avoid structural damage: A compromised roof could harm the structural integrity of the entire building.
- Maintain energy efficiency: A well-maintained roof helps with insulation, reducing heating and cooling costs.
✅ 7 Steps to Repair a Flat Roof
Follow these 7 steps to repair your flat roof effectively:
1. Inspect the Roof
Start by carefully inspecting your roof to identify any visible signs of damage. This step is crucial to pinpoint all problem areas that need attention. Look for cracks, holes, blisters, or any irregularities that could lead to leaks or further deterioration. Pay extra attention to areas around vents, chimneys, edges, and seams, as these spots are more prone to wear and tear. Use a notepad or chalk to mark each spot that requires repair, which will help you keep track and ensure nothing is overlooked. Taking photos of the damage is also a good idea, as they can serve as a reference later or as proof if you need to file an insurance claim. If your roof is difficult to access or you’re uncomfortable inspecting it yourself, consider hiring a professional roofer to handle this step safely and thoroughly.
2. Remove Debris
Before you begin any actual repair work, it’s essential to clean the area around the damage. Debris such as dirt, leaves, gravel, or loose roofing material can interfere with repairs and compromise the durability of the fix. Use a broom, brush, or air blower to clear the surface completely. For tougher dirt or grime, lightly scrub the area with a mild cleaning solution and a soft-bristled brush, being careful not to damage the roof further. Once the area is clean, let it dry completely before continuing. Moisture can compromise the adhesion of repair materials, so ensure the surface is completely dry before you move on to the next step. Taking the time to clear debris and clean the surface will make the repair more effective and long-lasting.
3. Prepare the Area
With the area clean and dry, it’s time to prepare the damaged section for repair. Start by cutting out any blisters, loose material, or severely damaged sections using a sharp utility knife or roofing cutter. Be precise and work carefully to avoid enlarging the damaged area unnecessarily. If you encounter moisture trapped under blisters, cut them open and let the area completely dry. Use a heat gun or blow dryer if needed to speed up the drying process. This step ensures that the repair materials will adhere properly and create a strong, watertight seal. Additionally, smooth out any uneven surfaces, as bumps or gaps can compromise the integrity of the patch. Proper preparation is key to ensuring the repaired area holds up against future wear and tear.
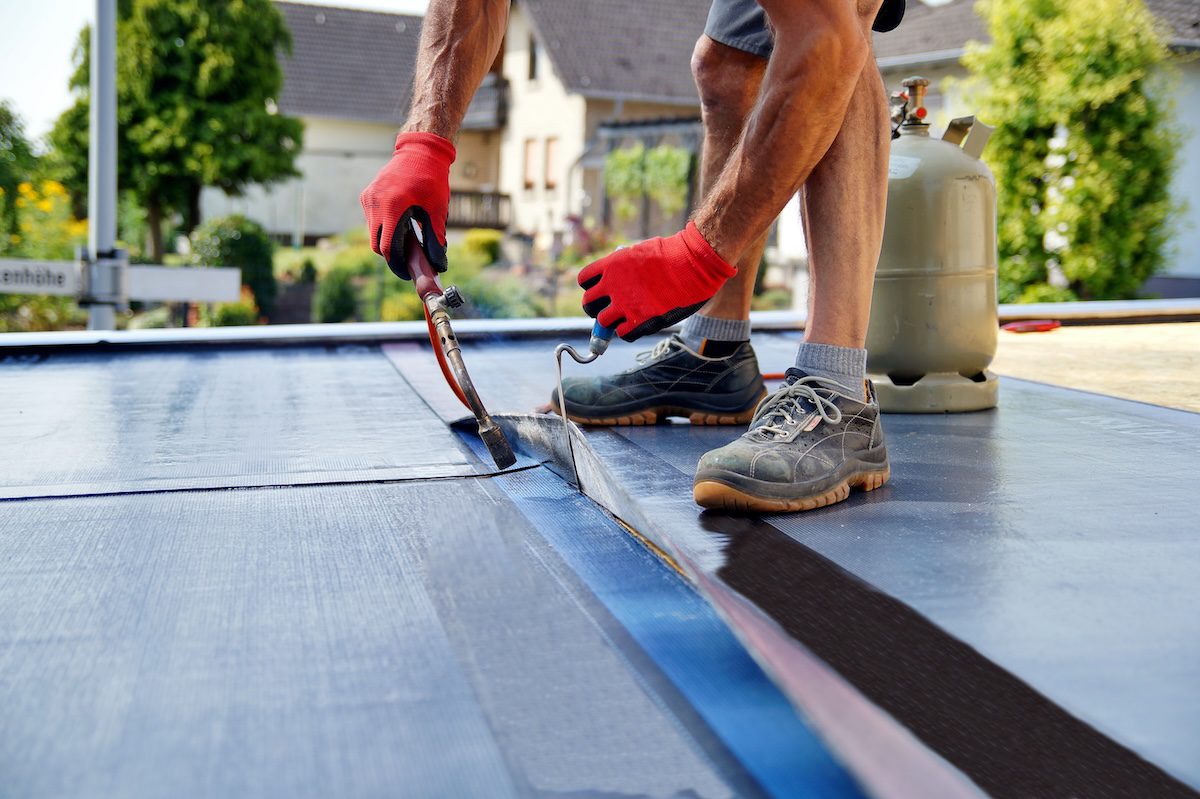
4. Apply Roofing Adhesive
Once the damaged area is prepped and ready, it’s time to apply the roofing adhesive. Choose an adhesive that is compatible with your specific roof type—whether it’s asphalt, EPDM, TPO, or metal—and read the product label to confirm proper usage. Use a trowel or paintbrush to apply the adhesive evenly across the area, ensuring full coverage. The adhesive acts as a bonding agent, so don’t skimp on the application. Spread it generously, but avoid creating clumps or uneven layers, as this could compromise the seal. Make sure the adhesive extends slightly beyond the edges of the damaged area to ensure proper adhesion for the patch. Once applied, allow the adhesive to set for a few minutes as per the manufacturer’s instructions before moving to the next step.
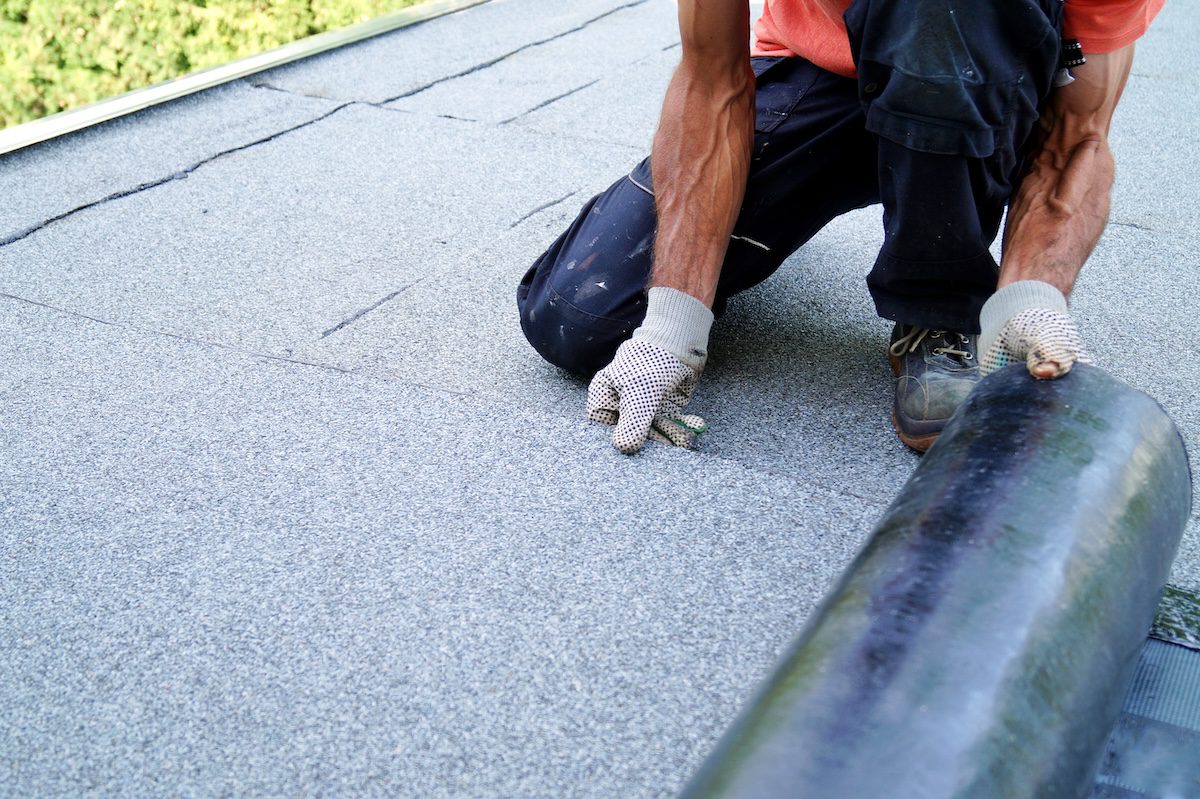
5. Patch the Damage
Now it’s time to patch the damaged area. Cut a patch from a material that matches your roofing type, ensuring it’s large enough to cover the damage and extends at least two inches beyond the edges for proper coverage and durability. Using compatible materials is critical, especially for membrane-based roofs like EPDM or TPO, as mismatched materials can lead to poor adhesion or reduced lifespan. Carefully place the patch over the prepared area, aligning it so it lies flat and smooth. Press down gently as you position it, ensuring there are no wrinkles, gaps, or air pockets. Take your time during this step to ensure the patch fits perfectly, as a poorly placed patch can leave the area vulnerable to further damage.
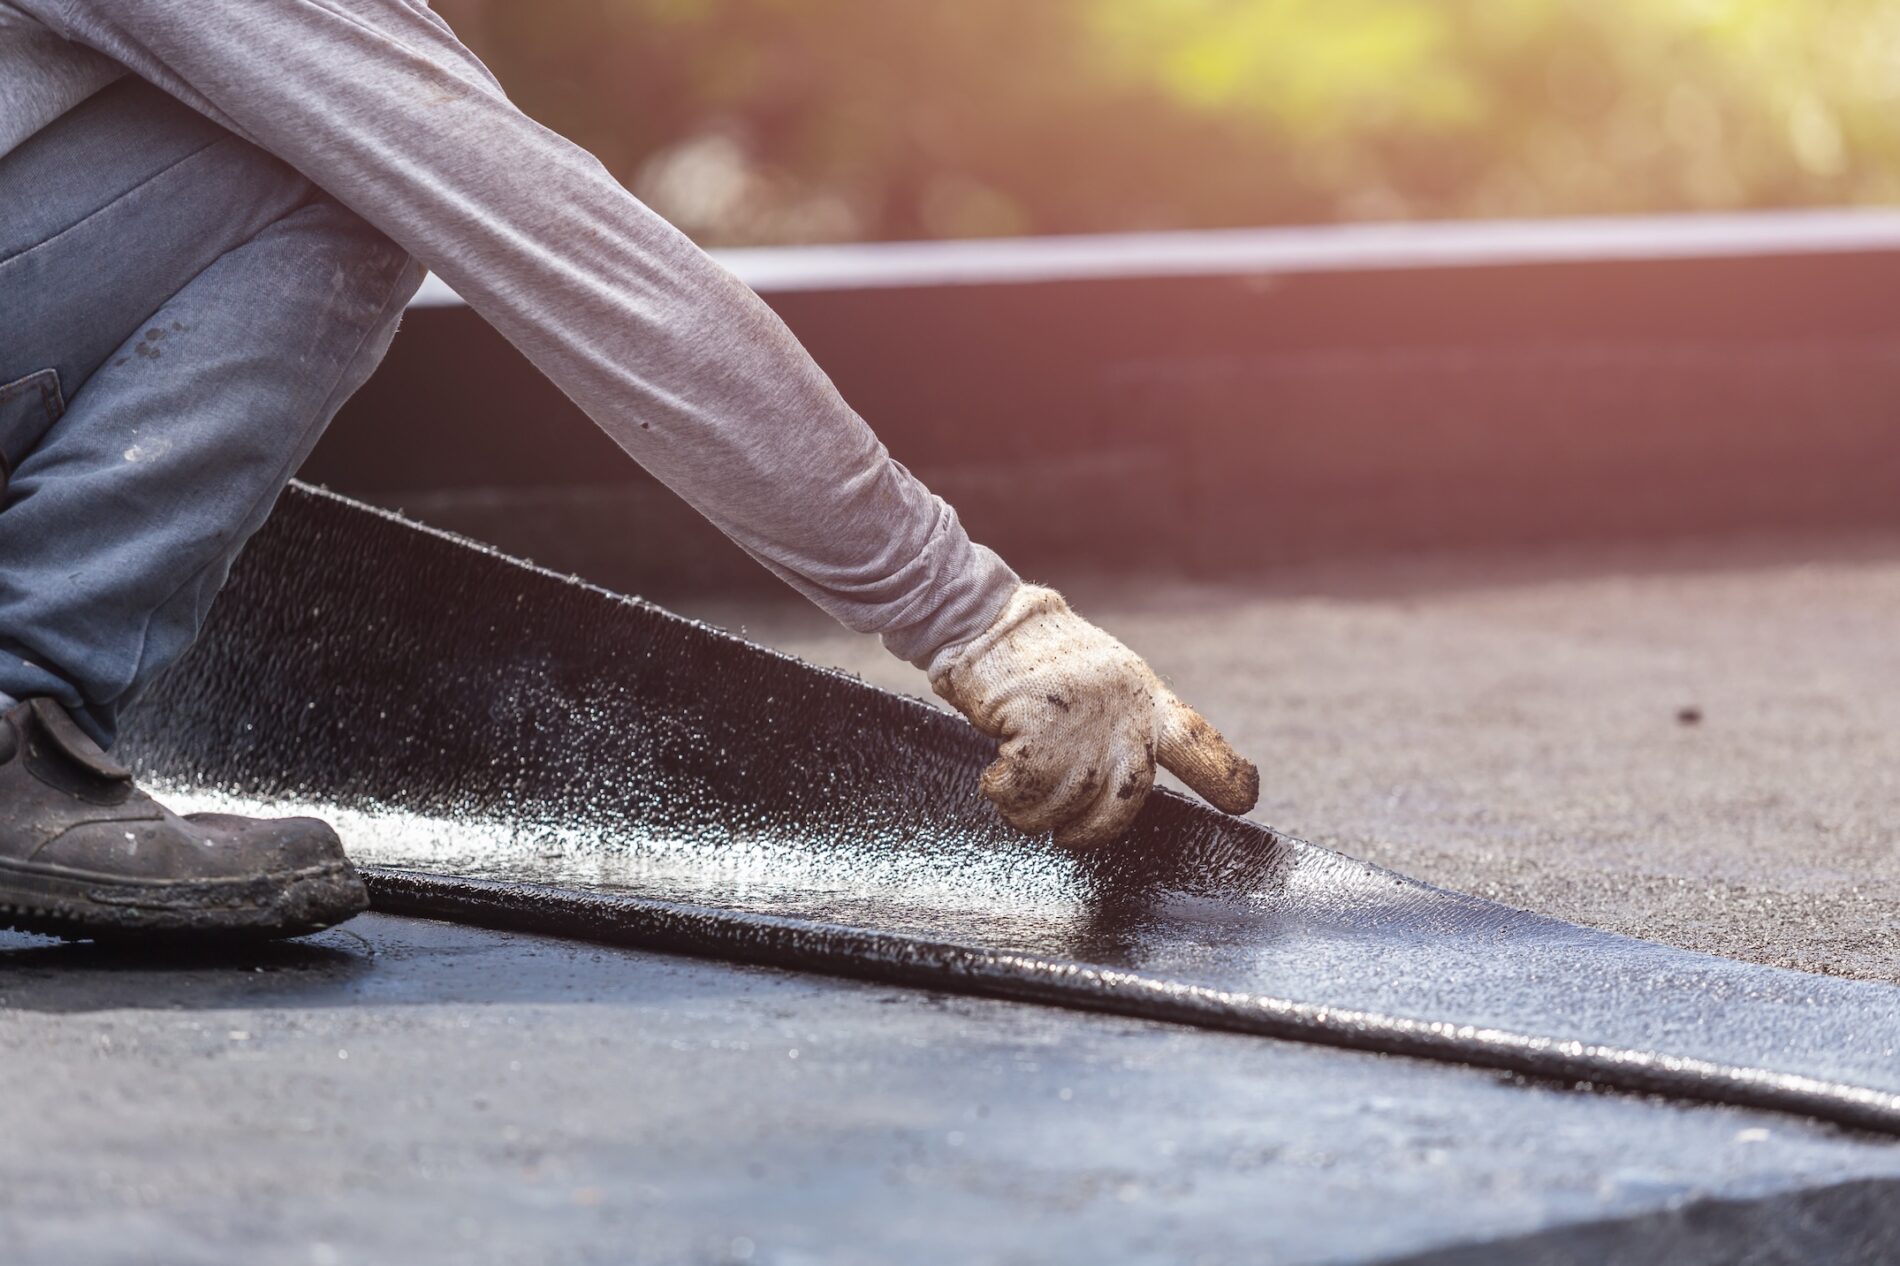
6. Seal the Edges
With the patch in place, the next step is to seal its edges. Apply an additional layer of adhesive or sealant along the entire perimeter of the patch. This step is crucial for creating a watertight barrier that prevents water from seeping underneath the patch, which could lead to leaks and further roof damage. Use a trowel or brush to smooth out the sealant, ensuring it’s evenly applied and fully covering the edges. Pay special attention to corners and seams, as these areas are particularly vulnerable to water infiltration. A well-sealed patch ensures the repair will last longer and protects your roof from future issues. Allow the sealant to dry as specified in the product instructions before proceeding to the final step.
7. Finalize the Repair
The final step is to secure the patch and ensure a smooth, durable finish. Use a roofing roller to press down firmly on the patch, removing any air bubbles and improving contact between the patch and the adhesive. This step helps ensure the patch adheres tightly to the surface for maximum durability. Inspect the patch carefully, checking for imperfections, gaps, or areas that may need additional adhesive or sealant. If you spot any issues, address them immediately to ensure the repair is watertight. Finally, allow the adhesive or sealant to cure completely as per the manufacturer’s instructions before exposing the area to the elements. Proper curing is essential for a strong bond and a successful, long-lasting repair. Once cured, your roof should be ready to withstand the challenges ahead!
🛠️ When to Call the Professionals
While some flat roof repairs are simple DIY projects, certain issues require professional expertise. Call a roofing professional if:
The Damage is Extensive
If your roof has suffered significant damage, such as large cracks, missing shingles, or structural issues, it’s time to consider professional repairs. Extensive damage can compromise the integrity of your entire roof, leading to more severe problems if left unaddressed.
There Are Multiple Leaks or Widespread Water Pooling
When you notice multiple leaks or water pooling across large areas of your roof, it’s a clear sign of underlying issues. Ignoring these can lead to water damage inside your home, mold growth, and costly repairs in the future. Professional help ensures these problems are resolved thoroughly.
You’re Unsure Which Materials to Use for Your Roof Type
Different roof types require specific materials and approaches for repairs. If you’re uncertain about which materials are best suited for your roof, consulting with experts can save you time and prevent mistakes that could lead to additional expenses down the line.
You Want Long-Term Warranties for the Repair Work
Choosing professional roof repairs often comes with the added benefit of long-term warranties. These warranties provide peace of mind, ensuring that any future issues related to the repair work will be addressed without extra costs. It’s a valuable investment in the longevity of your roof.
👨🔧 Flat Roof Repair
In conclusion, keeping your flat roof in top condition is essential to protect your home or business and ensure its longevity. At Great State Roofing, we pride ourselves on delivering expert repairs, using premium materials, and providing exceptional customer service. When you choose us, you’re choosing a team that puts your needs first and gets the job done right the first time.
Don’t wait for small issues to become costly problems—contact Great State Roofing today for a free consultation and experience roofing services you can trust.